Actually I was looking for a Continental 1, the 2 has a different color scheme and no emblem in the front plus some other changes
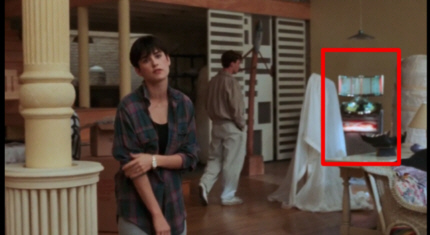
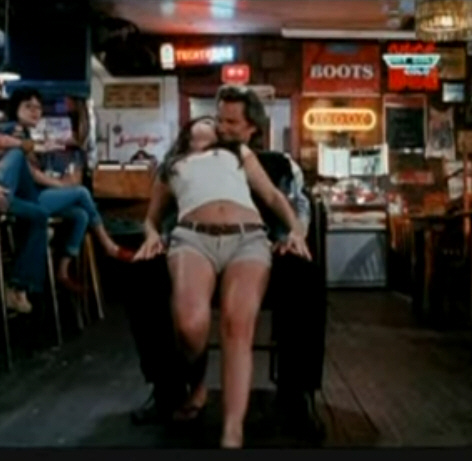
Pretty much everyone who has seen the popular movie GHOST has seen this unusual styled jukebox.
It has been used in other films and TV shows (see page end for more examples as I find them)
If you know of another movie or tv show you've seen a Ami Continental 2 in let me know, I'll try and include it on this page.
BACK TO THE PROJECT
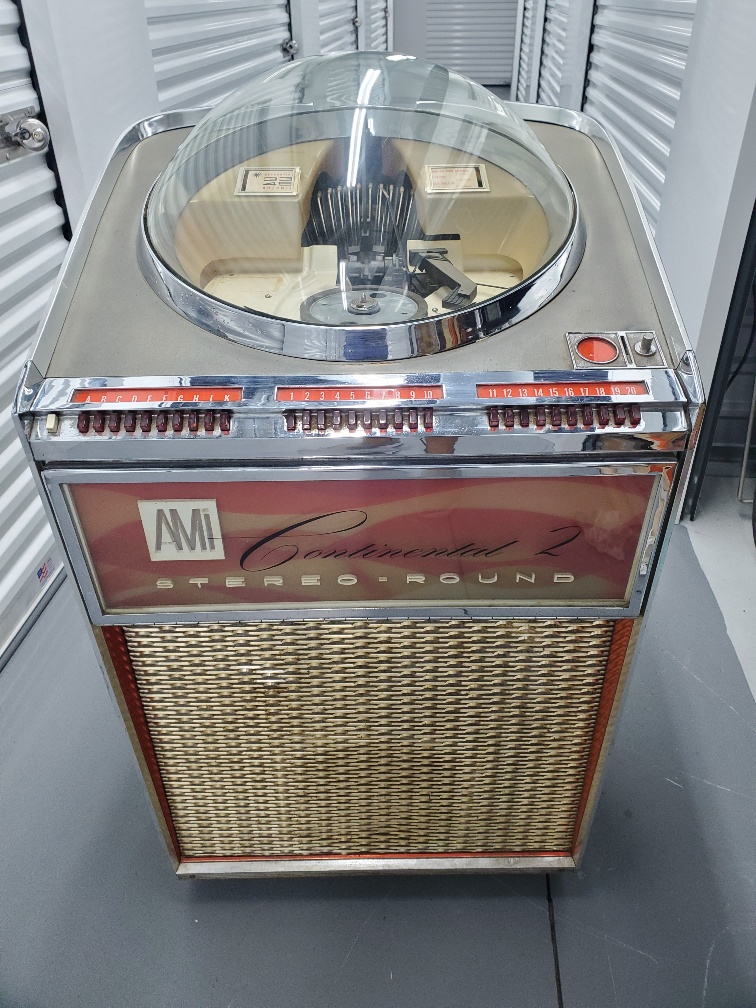
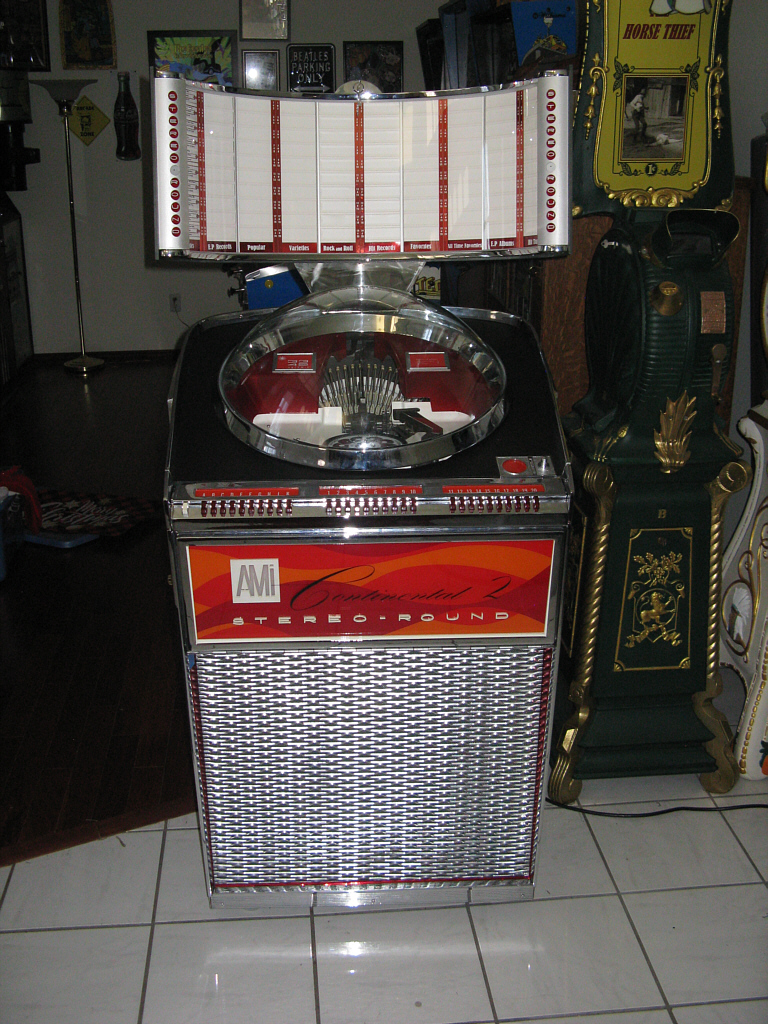
Photo By Anthony R.
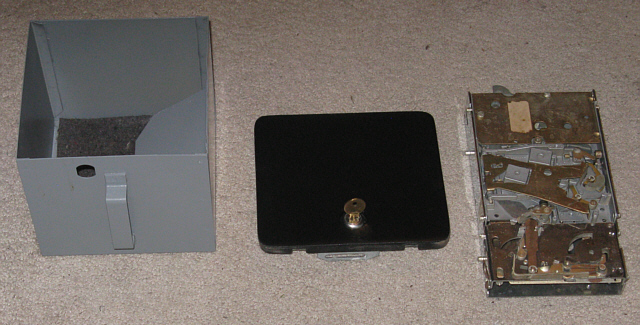
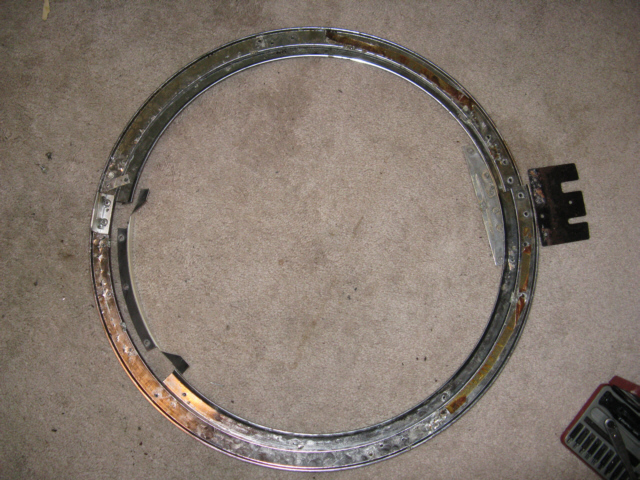
Here it is. There is a critical item missing from this photo, the title display cabinet, sometimes called "radar"
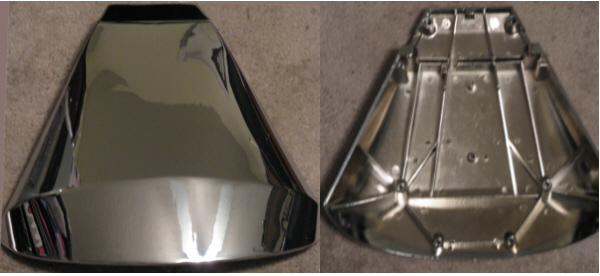
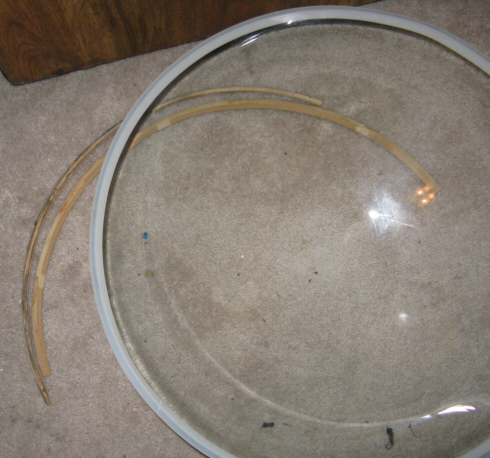
The curved glass covered title cabinet mounts to the jukebox using a cast metal bracket which snapped in half.
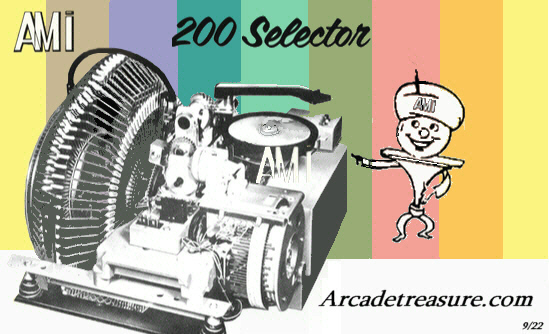
This is a 200 select (100 records) automatic version with stepper for use with WQ-200 wall boxes.
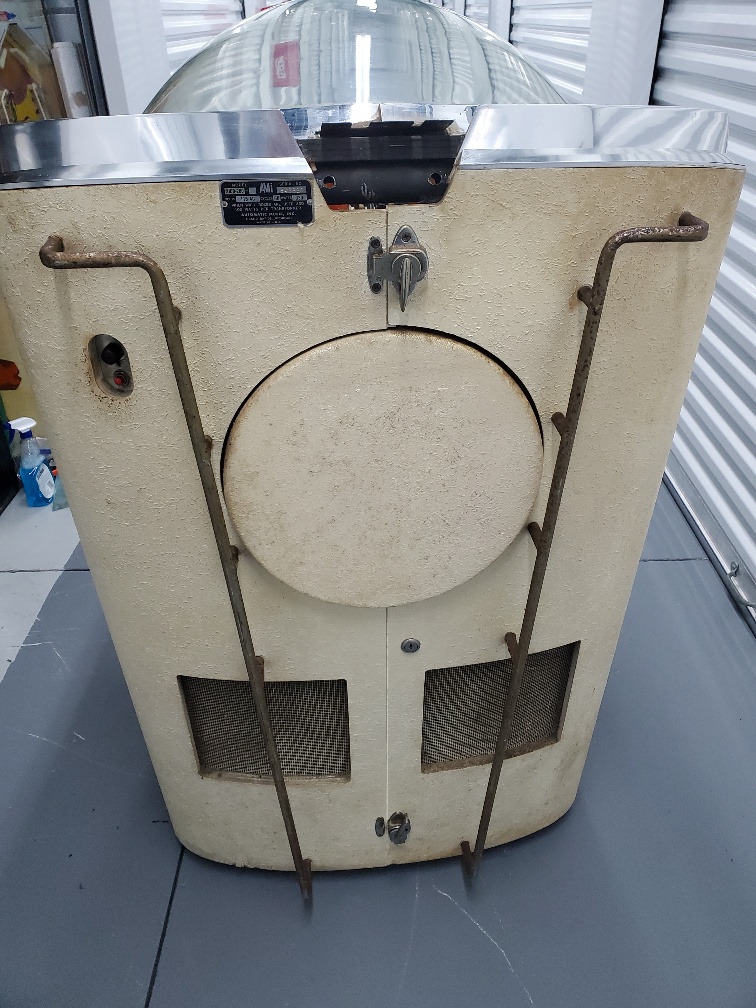
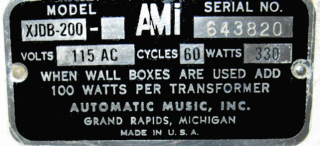
Photo By Anthony R.
Here it is from the back, I am considering making a few changes including painting the door red to mimic the plastic under the dome
It clearly shows that the white was touched up or totally repainted, there is white on the vent screens
Of course that assumes the factory didn't paint the cabinet after the screens were in place.
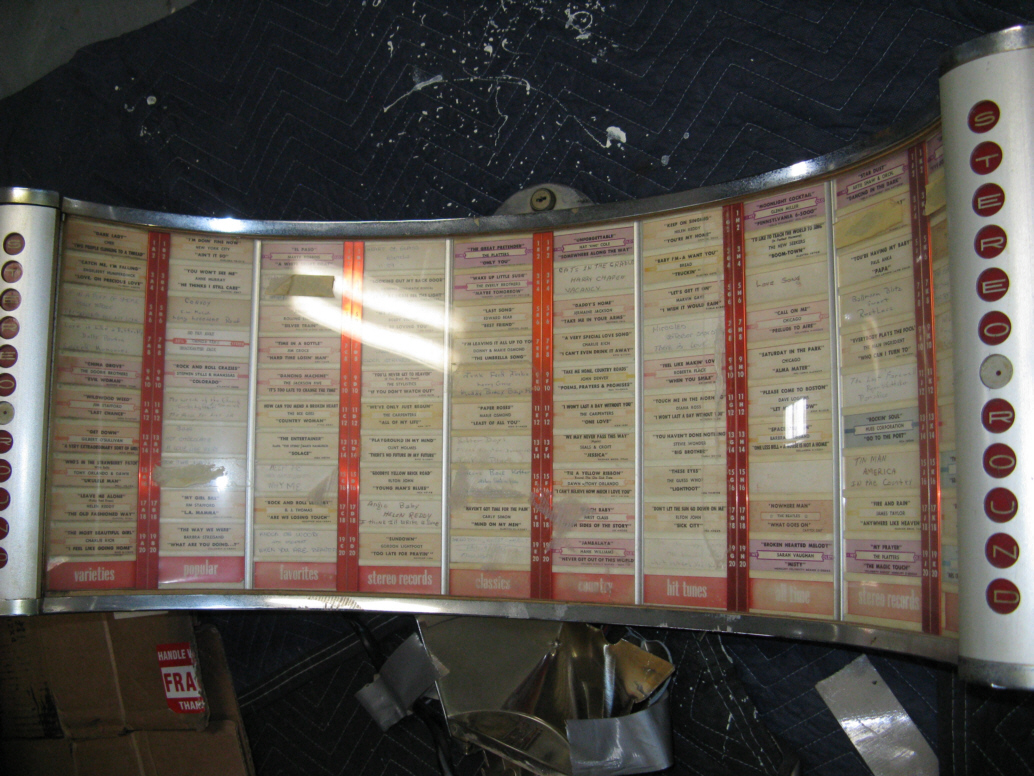
Here is that title board
This most likely caused when the jukebox was moved, using the title board cabinet as a handle to tilt the jukebox back.
NEW On the right is a brand new perfect casting. It is from a jukebox parts supplier in Germany that I highly recommend.

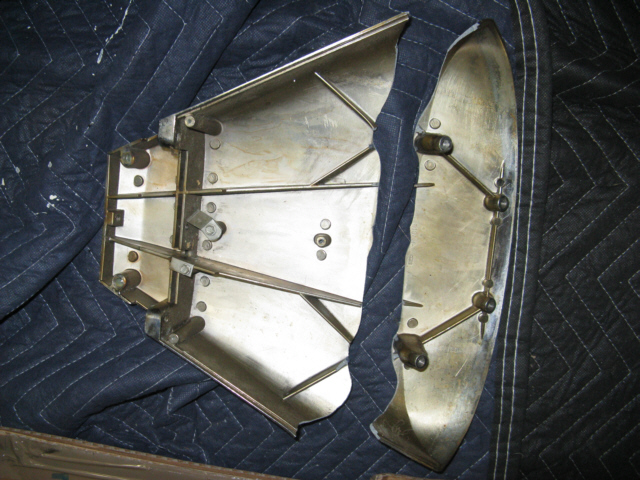
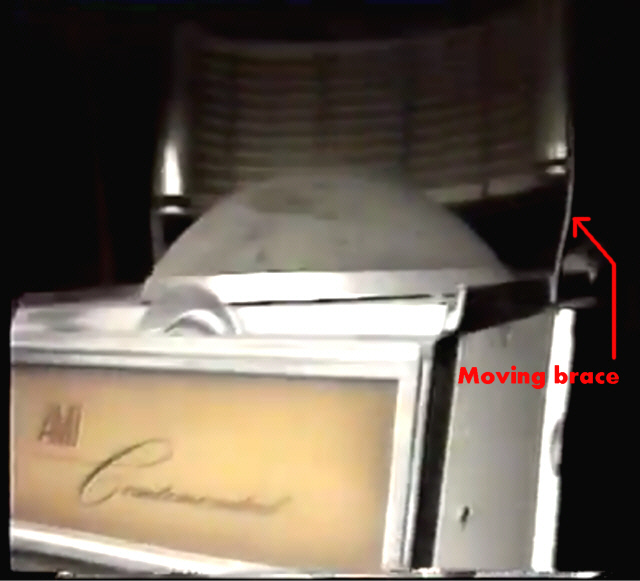
After some research I found these jukeboxes were shipped with braces to strengthen the title cabinet when moving the jukebox to a different location.
However these support braces seem have been discarded, once removed. If anyone reading this has them, please share the dimensions and shape.
See below
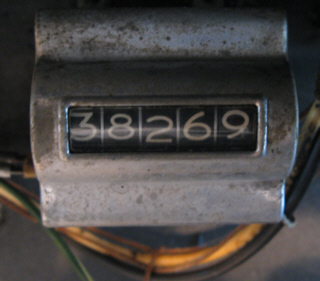
Here is the counter for this jukebox, 38269
records played before taken
out of
service.
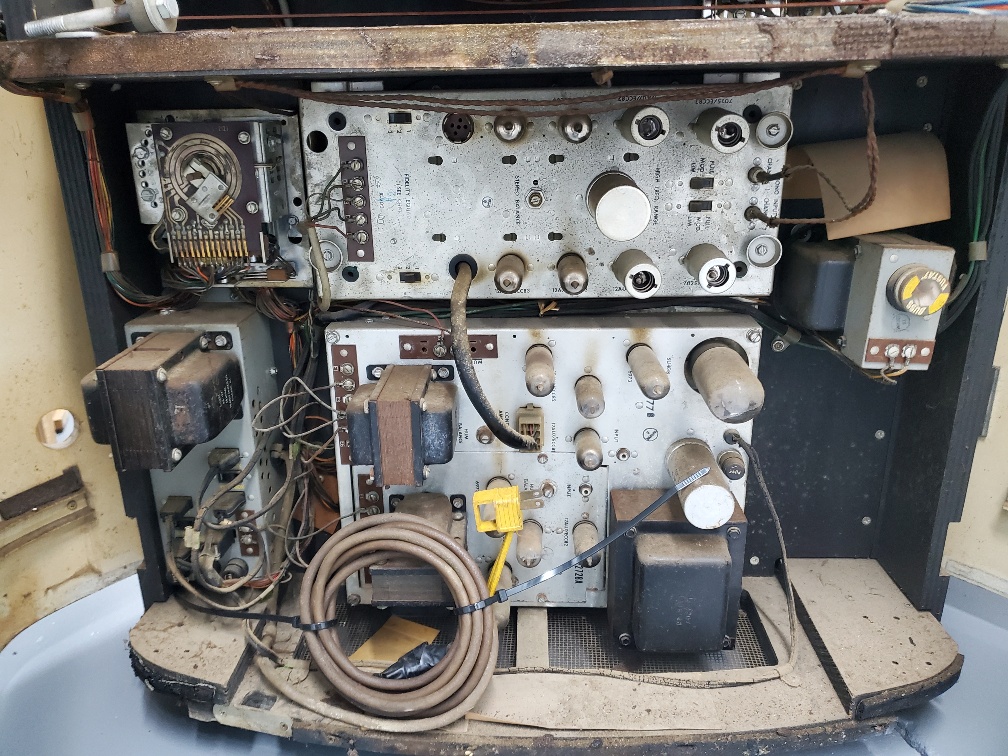
Photo By Anthony R.
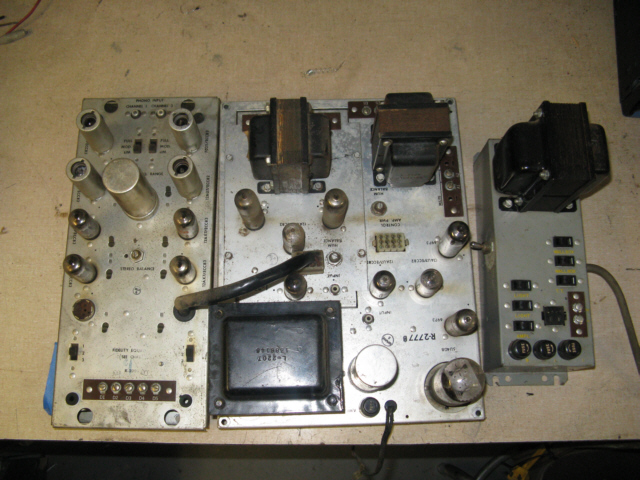
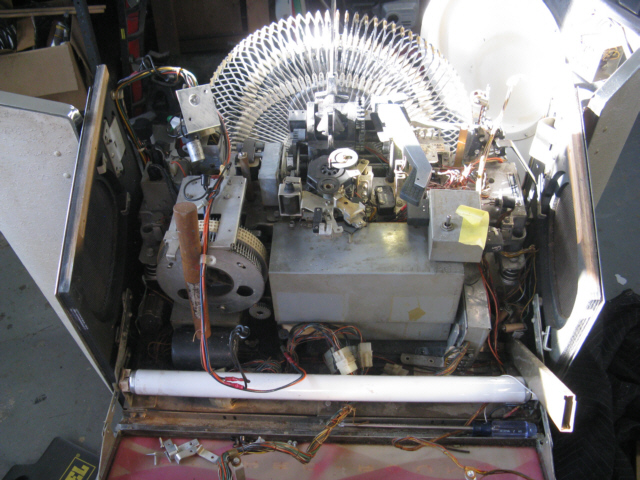
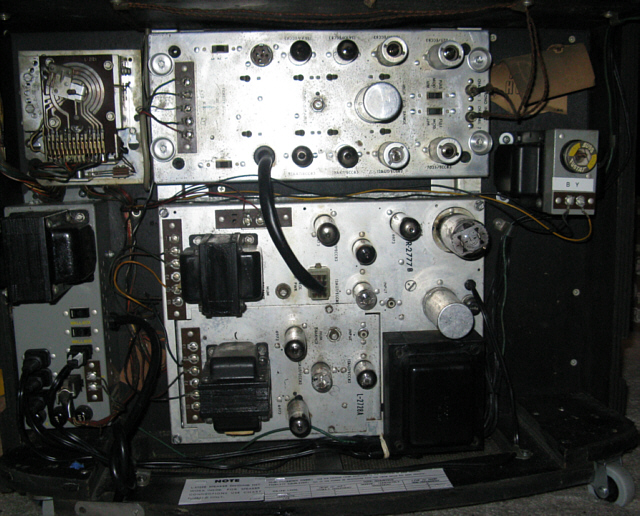
Here you see the credit unit, pre amp, amplifier, and power supply.
AMI used black molded non polarized line cords to connect major parts of the jukebox all of which have deteriorated.
The Pre amp and amplifier will have all tubes tested, those under performing will be replaced.
All electrolytic capacitors will be checked as will inter stage coupling capacious for leakage
These chassis will be removed early in the restoration process
Note: the jukebox is complete with the exception of the cash box door, cash box drawer and the coin mechanism / slug rejecter
UPDATE: all three missing items have been found!
Let the fun begin
The first step is to evaluate it's condition. Since this is the first AMI jukebox I have ever worked on, I will need to get a handle on what normal operation is.
First is it working at all? If not I need to get it working, not necessarily well, but working. That way in taking it apart I'll know if something changed once back together. Power will not be connected directly but through a 100 watt lamp wired in series with a porcelain bulb socket and outlet.
First, I will unplug the amp which also disables the pre amp.
Activating the jukebox showed no excessive current draw...good sign. The mechanism, was jammed, turned out the aluminum turntable mat was forced into the record drum along with a record. The tone arm was also in on the wrong side of a micro switch.
There was also a plug disconnected at the scan switch box. I had to establish a credit and presto after pressing a selection button combination
it loaded a record. Good start !.
I was warned that most likely all non polarized ac cords used would be toast, and that was true. Though none shorted, the inner insulation survived on most.
Now for the amp, I plugged the amp into a B&K variable ac power supply which allows monitoring current draw while increasing it's voltage.
Turning up the voltage on the amp showed no excessive current draw. The amp works and plays. (turned out in mono, later on this)
OK tests done for now.
Next up, evaluate the title board, besides the broken mounting casting.
Checked glass for heavy scratches after removing old tape and dirt stuck to it, glass is fine.
Removed titles and unbolted what was left of the mounting casting there. At this time also removed many years of dirt inside.
Couldn't test it's side lighting since the lighting is from fluorescent tubes powered by the jukebox.
Removed the dome, white and red/orange plastics. The red has totally faded out. I will use VHT nightshade see through paint so that the lighting under it can be seen. Tied down the tone arm since the whole assy can lift straight up.
Next I removed the amp and pre amp. It appears completely original, coupling caps and electrolytics are original
No signs of damage. All tubes will be tested an cleaned
Update: All tubes tested good. That's a relief as vacuum tubes have gotten expensive.
At the time of this writing the output tubes have sold for as high as $100 each (times 4).
After that some parts of the cabinet were removed, grill, screen, trims, cabinet top, and doors
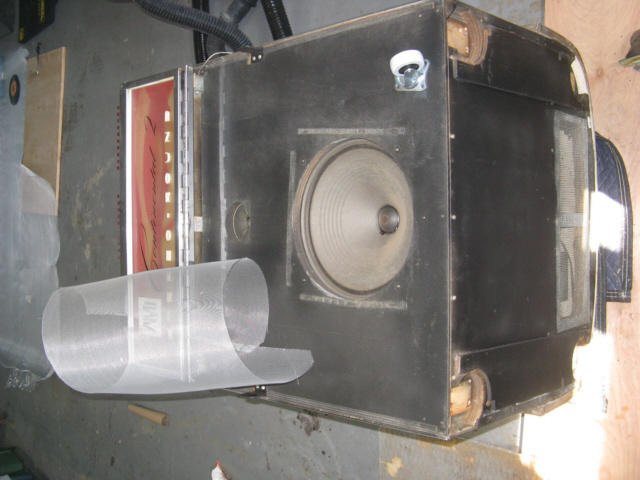
The jukebox was placed on it's back to replace the steel wheels, with rubber wheels so our floors will survive
At this stage the cabinet went through some extensive cleaning. The cabinet bottom was painted along with the speaker board
The grill was a surprise, it's anodized gold. All photos I've seen usually show what appears to be aluminum.
I have been told this is the way they came.
Below will be some photos of the process
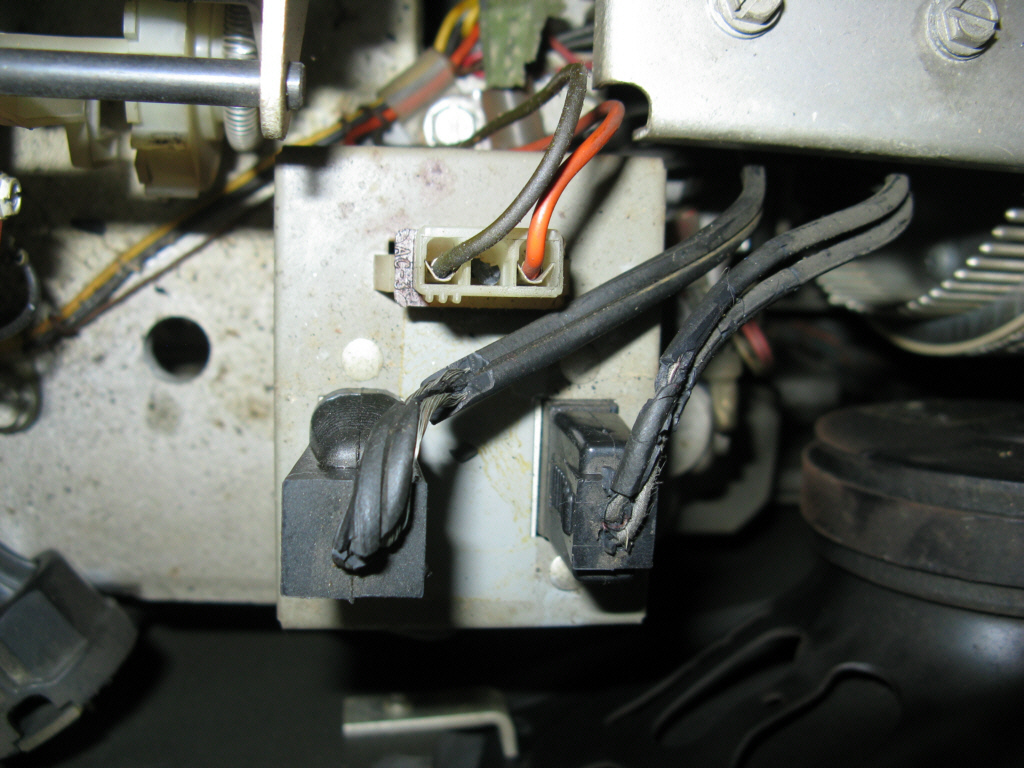
Here are a few of those line cords cracking and falling apart
In this case, the inner wrapped insulation on the wires is gone also.
It's really amazing that the outer insulation failed in such a way that the wires did not short.
AMI used these cords to connect various components in the jukebox with power.
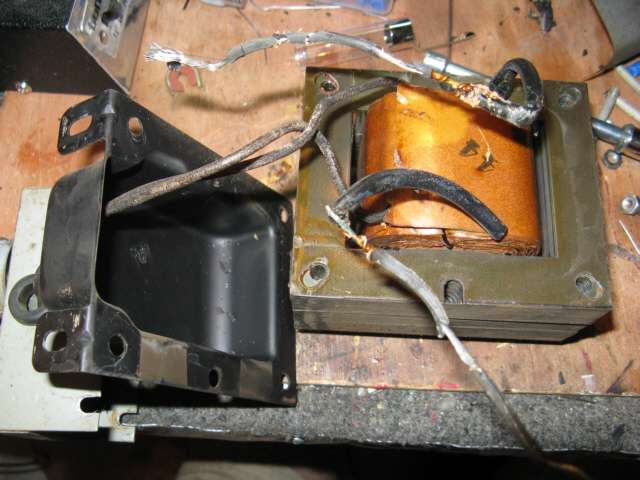
Below: Removal of cracking line cord from direct wiring to cabinet mounted transformer,
Update: All these cords have been replaced with new non polarized cords
First record to play on the jukebox, in how long?
Maybe 50 years, will have to check all records in the machine for dates to get a better idea
The tome arm is not setup correctly. plus it's missing a special spring.

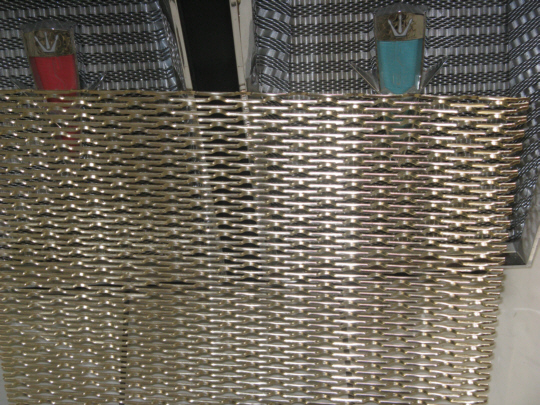
Grill propped against Seeburg 222 for color
comparison
Here the cabinet top has been removed to be refinished.
The top Jensen speakers have also been removed along with the mechanism cover.
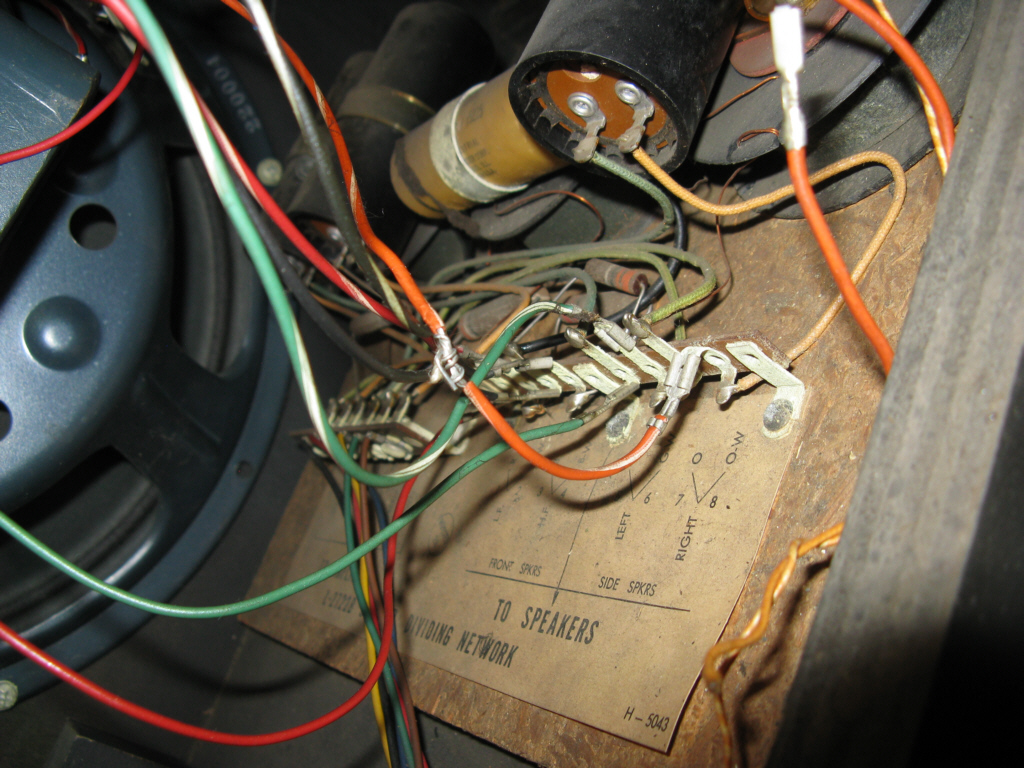
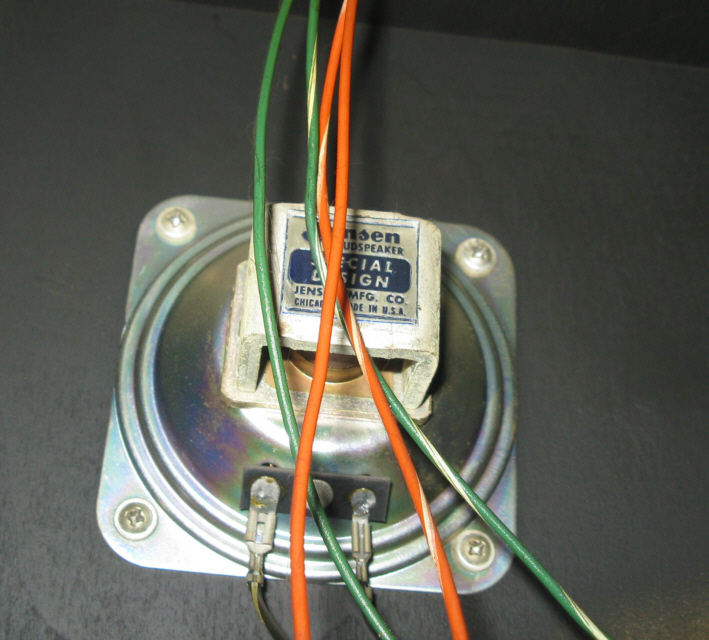
This is a photo of the crossover network, Two wires were cut and twisted together, the one in the foreground was not even connected.
This may have had something to do with the speakers possibly being out of phase when this was built.
But it doesn't explain why the right side was not connected at all.
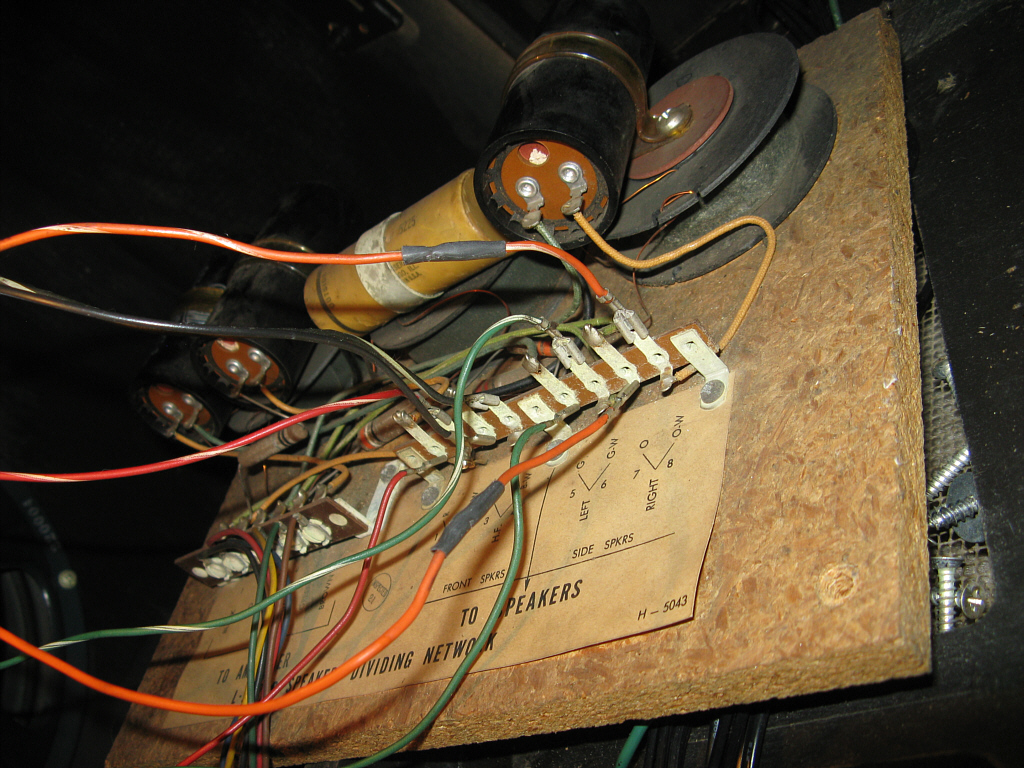
Here the crossover, wiring repaired and speaker reconnected.
After a little more cleaning, it was returned to the enclosed area accessed behind the amplifier and pre amp through a screwed in panel.
Note: You can see this area by removing the coin box and looking through that area.
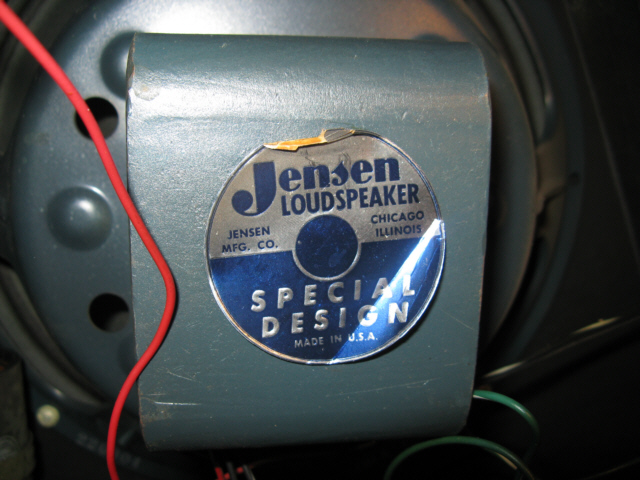
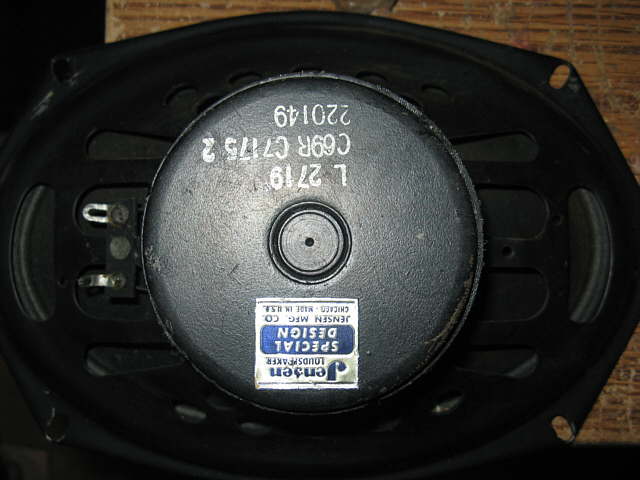
woofer
Midrange speakers
Tweeter (highs)
These are the three types of original Jensen speakers used
The large woofer and tweeter are accessed through the panel behind the amplifier and pre amp along with the crossover.
There is a bit of a trick to dismount the side speakers, one of the 4 brackets holding them slides into a groove in the cabinet.
This is the restored top
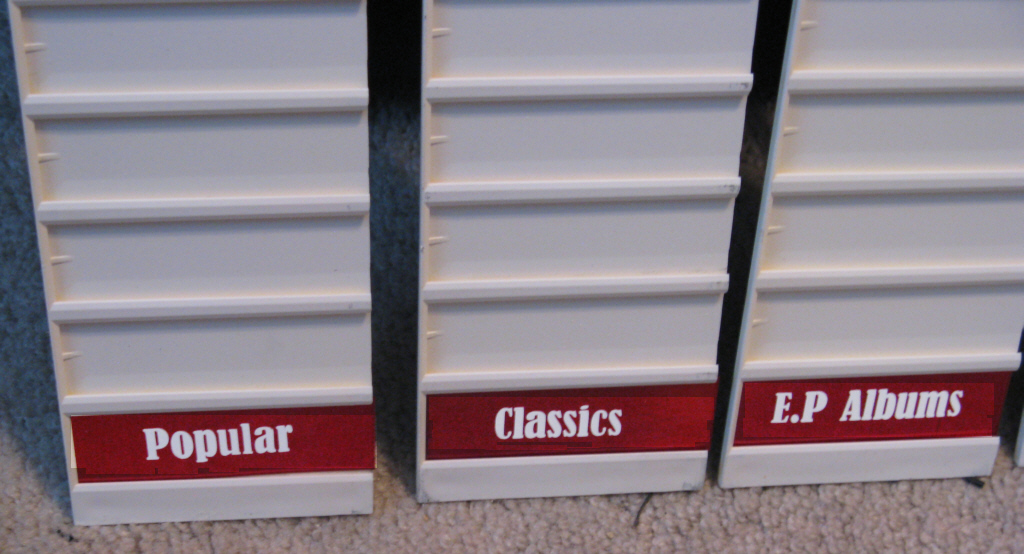
Here is a sample of the refreshed title strip holders with a new addition. The backs of these were cleaned but not repainted, so the original lettering and position stamp could be kept.
There is one change however, the title headings are custom. I purchased replacements for the originals but I'm not using those plastic headings.
Instead I created new headings, using .019 aluminum coated in a material that simulates anodized red. This is the same finish used on the aluminum triangle grill pieces (shown later).
The lettering is raised vinyl. The background title coloring changes, like the title cabinet location bars, based on viewing location and lighting
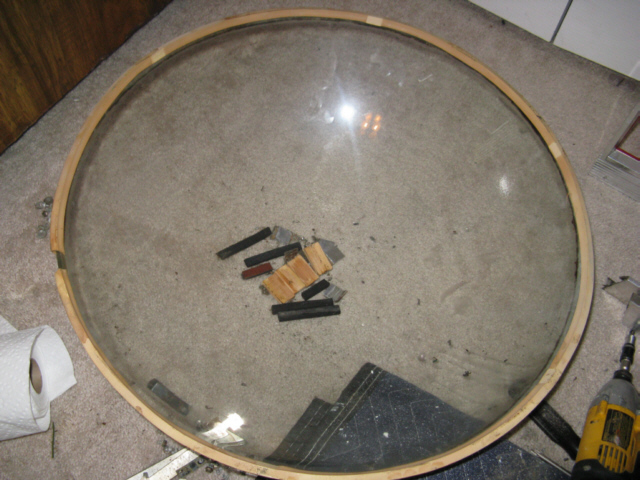
The left photo shows the underside of this
dome trim in poor shape on the right are the parts that fell out
removing the trim on the left
UPDATE: Replacement rubber U channel has been found to replace the original discolored, hardened and broken rubber on the dome and title cabinet glass.
The dome and title glass used in this jukebox is 1/4" thick. The rubber U channel is 3/8" wide and high with a 1/4" interior channel for the glass
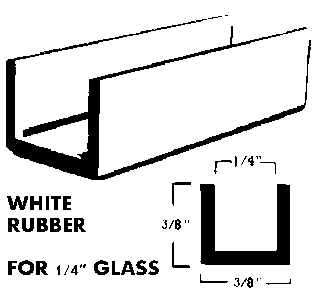
The replacement material is slightly wider & higher but fits perfectly.
Below left mounted on the glass dome edge
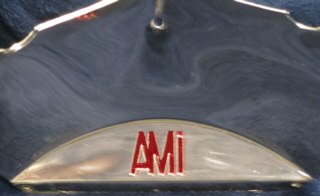
On the right, this cover damaged when the neck was broken, now the metal straightened and Logo painted with faux anodized paint.

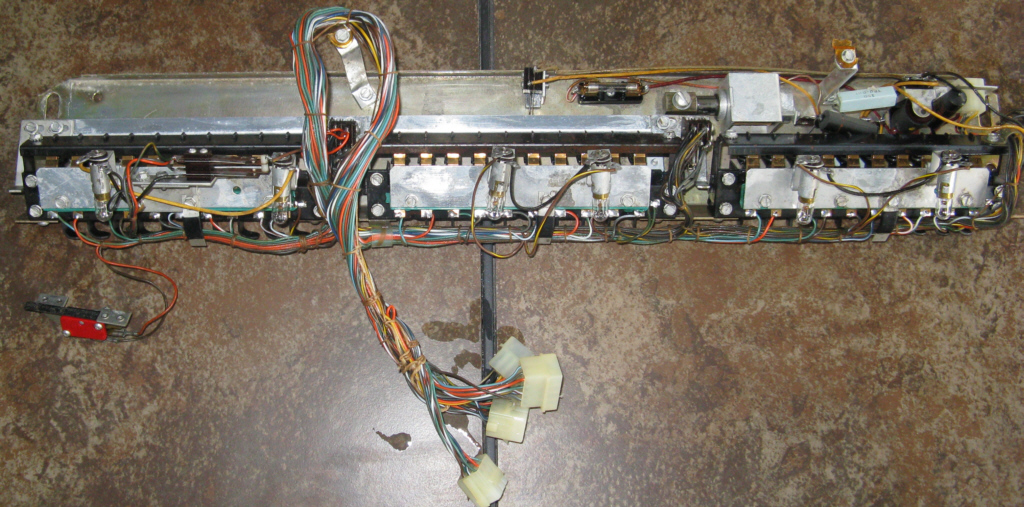
This is the selector unit. Not shown here, 2 pins was removed from one of the mating AMP-LOC connectors,
. A molex connector has been added here (temporally). Original AMP-LOC connectors and pins seem to have been lost to history.
This explains why they are not very bright, as the bulbs used are 6.3volt (around 4volts each in series)
Possibly 3.2 volt bulbs can be used, though their life would be shortened and they have a shorter life span to start with. A dropping resistor could be added
As with other components, shown here, dirt and cigarette damage has been removed
I use a strong cleaner, Spray Nine, to remove that damage.
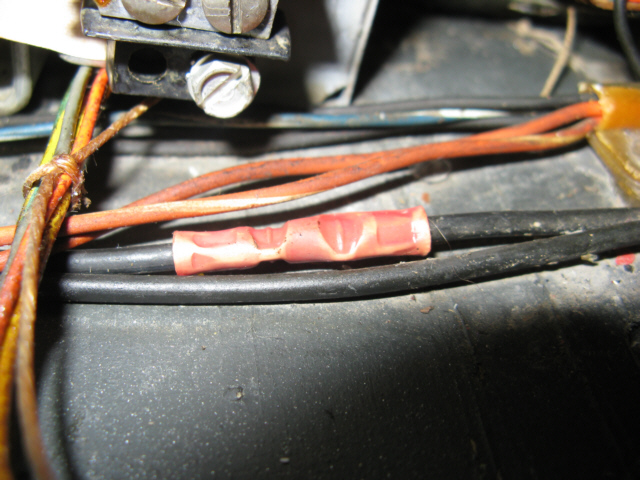
This is one of many crimp connectors used by techs to make quick solderless connections when replacing parts
These are pretty ugly and all need to be removed. This process has started
Update: I have been told by a restorer that has done 50 of these machines that is how the factory connected parts.
So, I have halted removing them, they still are ugly.
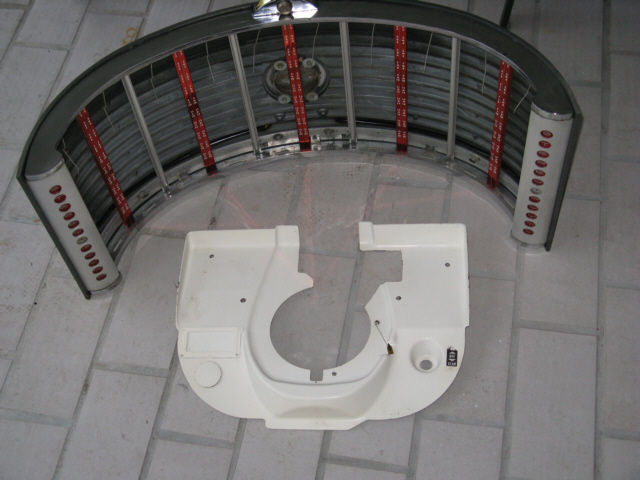
Here the title cabinet (radar) and turntable cover have had 60 years of dirt and heavy smoking damage removed.
That cover looks pretty good here but there is some discoloration and minor chips, it will be repainted
The foil label will be replaced.
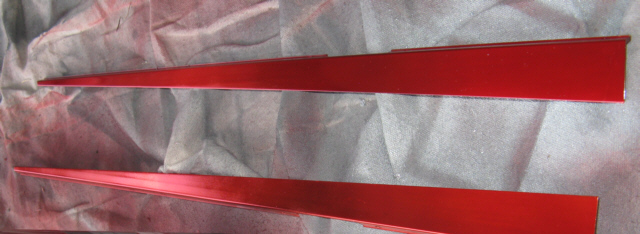
Here the red anodized effect of these have been re-applied, one was badly faded
Here the left door after damage repaired, texturing and repaint, not shown the right door has also been done.
All non- polarized cords have been replaced, with black non- polarized cords, including the main power supply cord.
All interstage coupling caps were replaced with orange drop caps. All the tubes were tested, all found with good emission.
All electrolytics were tested and exceeded the values called for.
I didn't mention this before as each piece of the jukebox has been removed for testing, cleaning, replating etc the hardware has been cleaned and polished.
Below is an example of hardware used to mount the amplifier
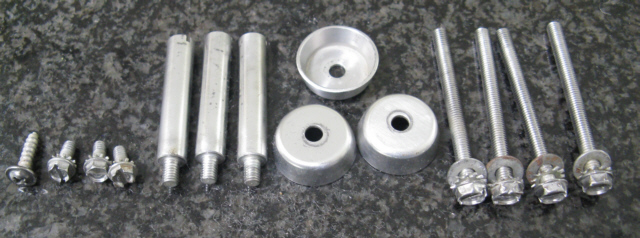
There is one set of post combination missing, it was not there. It turns out the factory made an error installing the rails the amplifier mounts to..
The rails were slightly out of alignment , so the complete set of 4 could not be installed. This has been corrected and a original set has been found and installed.
The majority of the decorative metal has been sent out for polishing a replating.
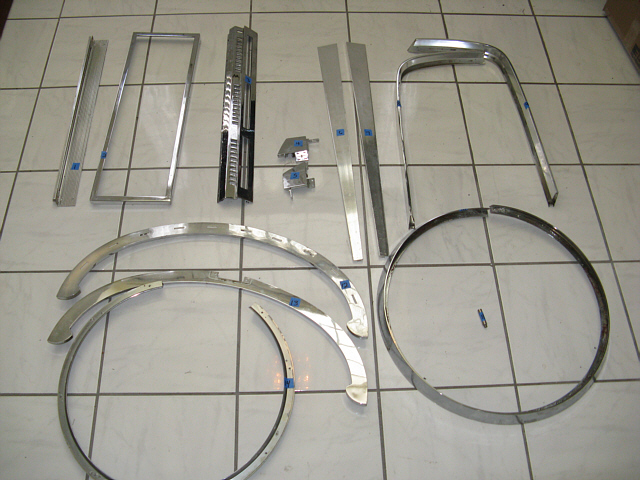
These were sent to Courtesy Metal
More detailed testing and repairs have been done at this stage including the amplifier and pre amp.
An intermittent condition developed, the machine would eject right after placing a record on platter.
All switches were cleaned tested and adjusted if needed, including cam switches and connectors. NO (Normally Open) contacts were tested to show no resistance,
NC contacts to show close to zero ohms. After adjustments and cleaning the machine became more reliable.
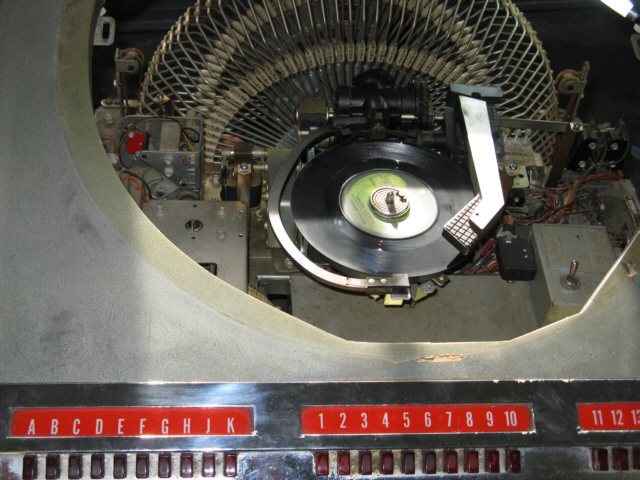
This machine has a feature that all of them don't have called automix, a feature that allows extended play 7" 33 1/3 records to be played.
The final operational test was to put a 7" small hole 33 1/3 record in the rack and select it. It didn't work.
I was educated by restorer Zuddie Smith, that the platter and it's spindle appear to be setup wrong .
On this Jukebox, the platter by default is set to play 33 1/3 small hole records.
When a 45 rpm record is selected and placed on the platter it's detected by the jukebox and 2 things happen,
it changes the playing speed and also raises the 45 adapter in the center.
Unfortunately. this jukebox did not do this. The 45 adapter was always in the up position, which is incorrect.
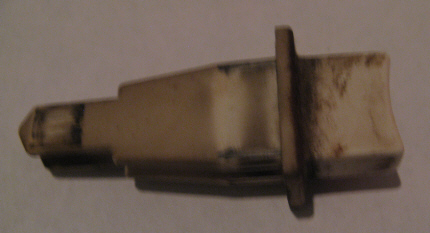
The reason for that turned out to be the addition of a washer and large nut added under the 45 adapter to keep it up.
This was probably done because at sometime in the past, a nylon piece was lost which is part of the platter assy.
Without it, the center adapter would have stayed down permanently not allowing the jukebox to play 45's at all.
With the change that was made, it could no longer play 33 1/3 records but could play 45's

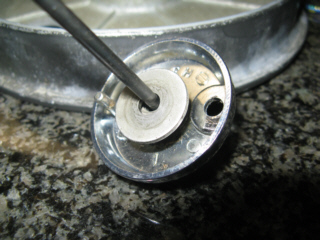
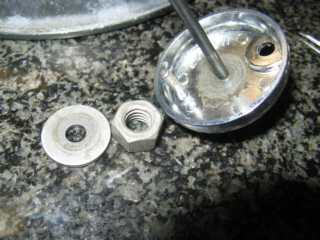
This washer
and nut permanently elevated the 45 adapter
This is part of the reason the 45 rpm to 33 1/3 conversion didn't work.
Turned out it's actually, 33 1/3 conversion to 45 rpm speed (automix) as mentioned before.
This seems backwards, from a design point of view, since 95 % of the records were 45's that would be played.
Possibly the anticipation was that the mini lp's would take over the market?
It was missing an extension piece (the replacement not show here) which normally allows the 45 adapter to lift up.
With this arrangement it was always in large hole 45 rpm mode and could only play 45's.
(I had to fabricate the missing part mentioned above, if someone reading this has a spare original please contact me)
Finished! not powered waiting records and title strips

Here at night

This up close photo shows the aluminum title headings matched up against the anodized record numbers and letters verticals
They are not paper.
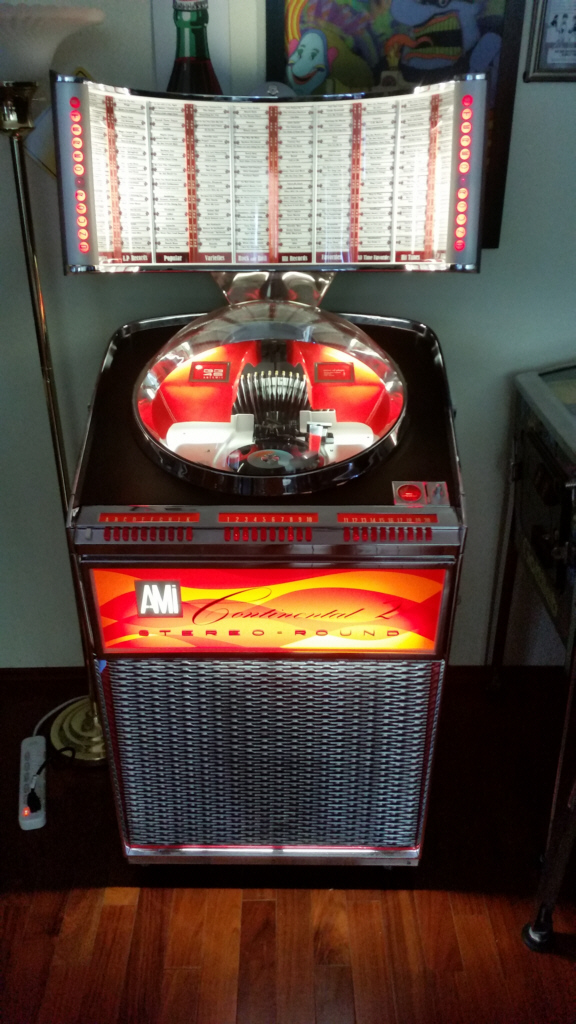
Finally one more photo of the finished Continental 2 Jukebox

I will be posting some tips / info. as I move ahead on the project. Such as things not covered in the manual or not clear in the manual.
UPDATE: Replacement rubber U channel has been found to replace the original discolored, hardened and broken rubber on the dome and title cabinet glass.
The dome and title glass used in this jukebox is 1/4" thick. The rubber U channel is 3/8" wide and high with a 1/4" interior channel for the glass
The replacement material is slightly wider & higher but fits perfectly.
Below left mounted on the glass dome edge
On the right, this cover damaged when the neck was broken, now the metal straightened and Logo painted with faux anodized paint.
This an example of the condition of the buttons
before
After, all the
buttons cleaned (31)
This is the selector unit. Not shown here, 2 pins was removed from one of the mating AMP-LOC connectors,
. A molex connector has been added here (temporally). Original AMP-LOC connectors and pins seem to have been lost to history.
UPDATE: I was able to get a few of the
AMP-LOC pins from Zuddie Smith and replace the missing pins for
select #14
As explained later all selector lights were out, turns
out they are in
series. One out, there all out. This done to drop the 25-26 volts.This explains why they are not very bright, as the bulbs used are 6.3volt (around 4volts each in series)
Possibly 3.2 volt bulbs can be used, though their life would be shortened and they have a shorter life span to start with. A dropping resistor could be added
As with other components, shown here, dirt and cigarette damage has been removed
I use a strong cleaner, Spray Nine, to remove that damage.
This is one of many crimp connectors used by techs to make quick solderless connections when replacing parts
These are pretty ugly and all need to be removed. This process has started
Update: I have been told by a restorer that has done 50 of these machines that is how the factory connected parts.
So, I have halted removing them, they still are ugly.
Here the title cabinet (radar) and turntable cover have had 60 years of dirt and heavy smoking damage removed.
That cover looks pretty good here but there is some discoloration and minor chips, it will be repainted
The foil label will be replaced.
Here the red anodized effect of these have been re-applied, one was badly faded
Here the left door after damage repaired, texturing and repaint, not shown the right door has also been done.
before
after
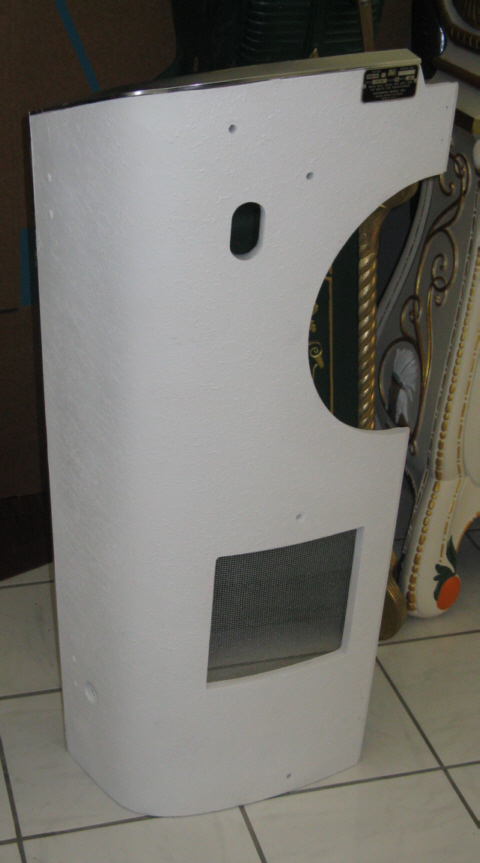
This is what the rear cabinet looks like at this stage. I noticed
there is one label upper right the needs to be replacedAll non- polarized cords have been replaced, with black non- polarized cords, including the main power supply cord.
All interstage coupling caps were replaced with orange drop caps. All the tubes were tested, all found with good emission.
All electrolytics were tested and exceeded the values called for.
I didn't mention this before as each piece of the jukebox has been removed for testing, cleaning, replating etc the hardware has been cleaned and polished.
Below is an example of hardware used to mount the amplifier
There is one set of post combination missing, it was not there. It turns out the factory made an error installing the rails the amplifier mounts to..
The rails were slightly out of alignment , so the complete set of 4 could not be installed. This has been corrected and a original set has been found and installed.
The majority of the decorative metal has been sent out for polishing a replating.
These were sent to Courtesy Metal
More detailed testing and repairs have been done at this stage including the amplifier and pre amp.
An intermittent condition developed, the machine would eject right after placing a record on platter.
All switches were cleaned tested and adjusted if needed, including cam switches and connectors. NO (Normally Open) contacts were tested to show no resistance,
NC contacts to show close to zero ohms. After adjustments and cleaning the machine became more reliable.
This machine has a feature that all of them don't have called automix, a feature that allows extended play 7" 33 1/3 records to be played.
The final operational test was to put a 7" small hole 33 1/3 record in the rack and select it. It didn't work.
I was educated by restorer Zuddie Smith, that the platter and it's spindle appear to be setup wrong .
On this Jukebox, the platter by default is set to play 33 1/3 small hole records.
When a 45 rpm record is selected and placed on the platter it's detected by the jukebox and 2 things happen,
it changes the playing speed and also raises the 45 adapter in the center.
Unfortunately. this jukebox did not do this. The 45 adapter was always in the up position, which is incorrect.
The reason for that turned out to be the addition of a washer and large nut added under the 45 adapter to keep it up.
This was probably done because at sometime in the past, a nylon piece was lost which is part of the platter assy.
Without it, the center adapter would have stayed down permanently not allowing the jukebox to play 45's at all.
With the change that was made, it could no longer play 33 1/3 records but could play 45's
This is part of the reason the 45 rpm to 33 1/3 conversion didn't work.
Turned out it's actually, 33 1/3 conversion to 45 rpm speed (automix) as mentioned before.
This seems backwards, from a design point of view, since 95 % of the records were 45's that would be played.
Possibly the anticipation was that the mini lp's would take over the market?
It was missing an extension piece (the replacement not show here) which normally allows the 45 adapter to lift up.
With this arrangement it was always in large hole 45 rpm mode and could only play 45's.
(I had to fabricate the missing part mentioned above, if someone reading this has a spare original please contact me)
Finished! not powered waiting records and title strips
Here at night
This up close photo shows the aluminum title headings matched up against the anodized record numbers and letters verticals
They are not paper.
Finally one more photo of the finished Continental 2 Jukebox
I will be posting some tips / info. as I move ahead on the project. Such as things not covered in the manual or not clear in the manual.
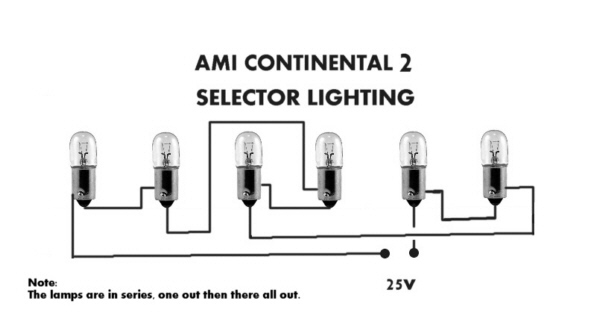
The wiring of the lamps above is not haphazard, from left to right this is how they are wired in my continental.
To be clear these
lamps are in series as shown above, one out their all out, they are on
the AC supply.

Above is basically how all of this type of lighting is wired.
Starters used are FS2 and FS5
There are issues with the sockets used on the T5 bulbs, especially the lamps in the title board
The title board lamps use a socket with a threaded bracket attached.
These develop intermittent connections at the contacts (bend or side down)
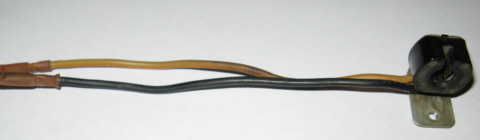

On the left is an original title board lamp socket (note: butt connectors) on the right a replacement, a washer and longer bolt will be needed to attach them
Replacing damaged or missing record number and letter combinations on the record magazine.
There is an Ebay seller for example who sells a sheet of water release decals, I don't recommend them.
The fonts used are not dark enough, possibly not sized correctly. This seller also sells replacement cabinet labels which are not 100% correct also.
Instead create your own (see sample below).There are a number of brands of clear decal sheets that can be printed on laser and inkjet.
I would suggest the laser versions. I used KE MENG waterslide transparent decal paper. At the time of this writing may no longer be available.
I had tried another brand Koala, I found they were thinner and sometimes did not stay in place and curled forward when installing them.

Sample
(use the above by changing letters to create other letter block decals)
Once printed, to apply, cut out individual letter number combination, on the left and right cut close.
On the top leave a small space, on the bottom cut close to letter. Place in shallow water for maybe 5-10 seconds and remove.
Dry hand, dry decal top. When the decal can slide after a few moments, move the decal slightly down.
Place decal and backing on white magazine surface.
Now slide the decal down, put finger on decal bottom, pressing it onto the surface, now pull the backing up.
It will take a little practice, so print extra decals.
Contact me, if your looking for replacement cabinet labels.
UPDATE: NEWS
Once I realized this Continental 2 had the optional stepper system installed, I started to look for a WQ-200 wallbox. Finally found one, and with the help of
some friends it has been picked up from the seller. Once here It will be restored and eventually be connected to the Continental.
It's restoration will be covered on another page.
UPDATE!
The wallbox has been revived, however it turns out the stepper on my jukebox is NOT
designed to be used with a AMI wallbox like WQ-200. Instead it's to be used with a Seeburg wallbox for example.
So, I am now looking for an AMI Stepper that was designed for the Continental 2 200 and will work with a WQ-200 (the correct model is "CCA")
If you have one for sale or would like to trade email me.
Here are a few other films, shows & media where a Continental 2 has been seen.
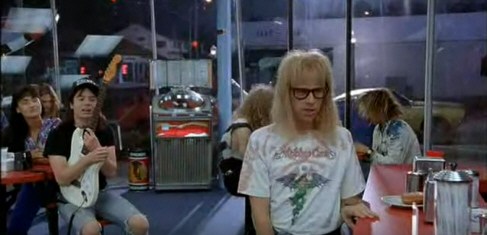


Waynes World
Empire
Records
Ramones
Documentary
2009
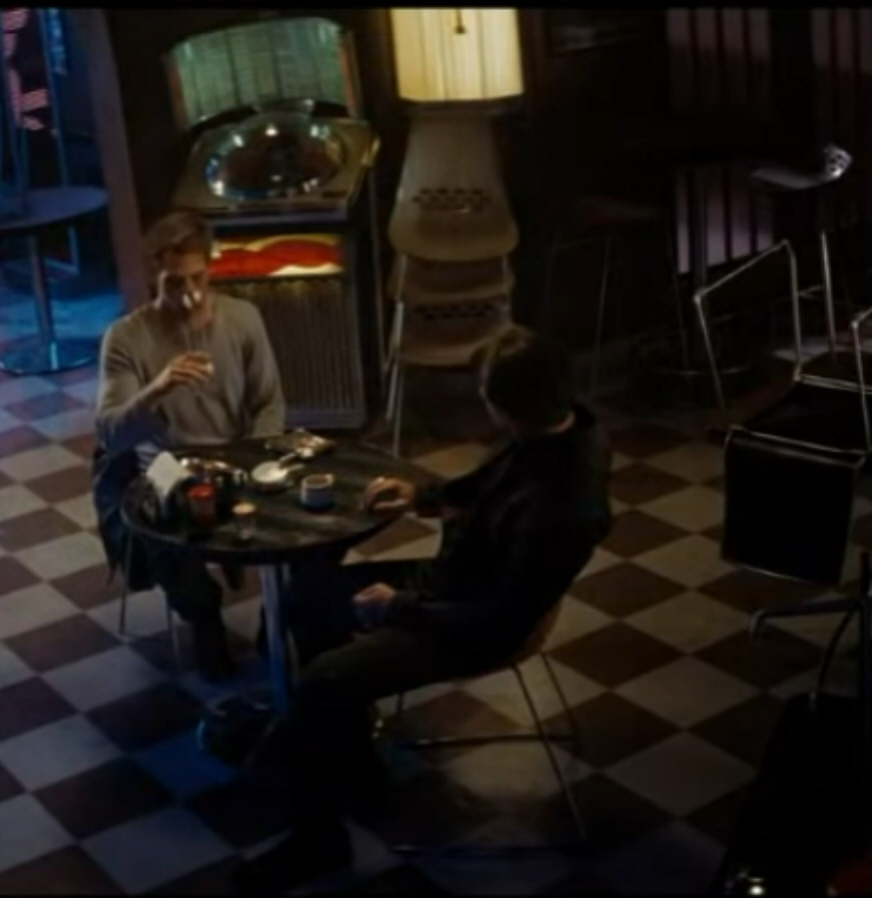
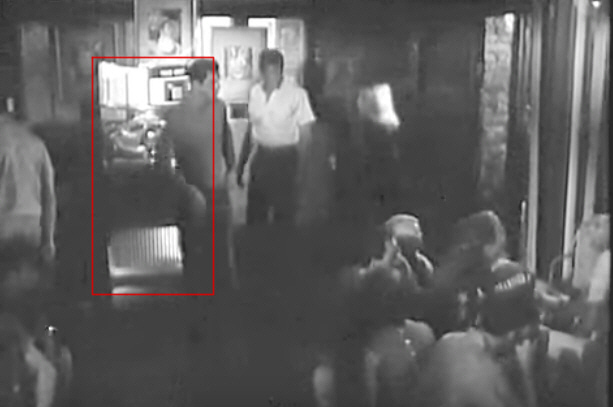
Star Trek Movie (Bar Scene)
2007
Grindhouse
Route 66 TV show S3 E4 1962
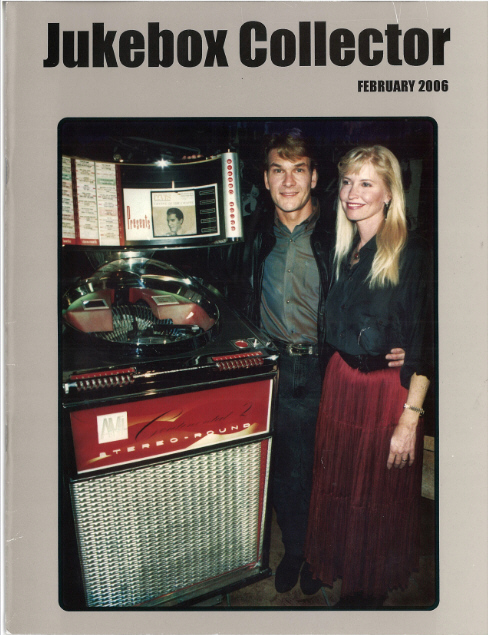
Patrick Swayze and wife Lisa Niemi
That is a 100 select version of the Continental 2 jukebox
(Jukebox Collector Magazine was owned by Rick Botts and ceased operating in 2010)
Patrick Swayze and wife Lisa Niemi
That is a 100 select version of the Continental 2 jukebox
(Jukebox Collector Magazine was owned by Rick Botts and ceased operating in 2010)