CONCERT ROLLER ORGAN

Here it is.

More photos and info will follow as it's restoration progresses.
If your seeing this and have music that works with this type of organ commonly called "cobs" for sale contact me.
These wooden rollers with metal pins fit other organs as well like Chautauqua Roller Organ, Gem Roller Organ and Home Music Box.
20 note "Cobs" play on these machines.
This is all new to me and I am learning as I write this.
The Concert organ arrived, a little worse for the shipping since the seller on ebay (Andronn) ignored my suggestion how to protect it.
I suggested the organ be placed in a box then inside a larger box insulting it from the outer carton.
Instead it was placed on the floor of a single used box with a thin layer of packing under it. The result was the cabinet split open.

Besides the cabinet repairs, and new glass, it will need all Pneumatics repaired.
The mechanism will need cleaning and lubrication including new valve pads.
Here are some photos of the process.

Here the top covers have been removed. It includes the back cover which has the instructions on the back of it
There is a cover in the middle which doesn't move and has the painted "Concert Roller Organ" on it.
Finally there is the front door with glass panel
As you can see it's slightly dirty.

The mechanism has been removed for cleaning, lubrication and pad replacement.
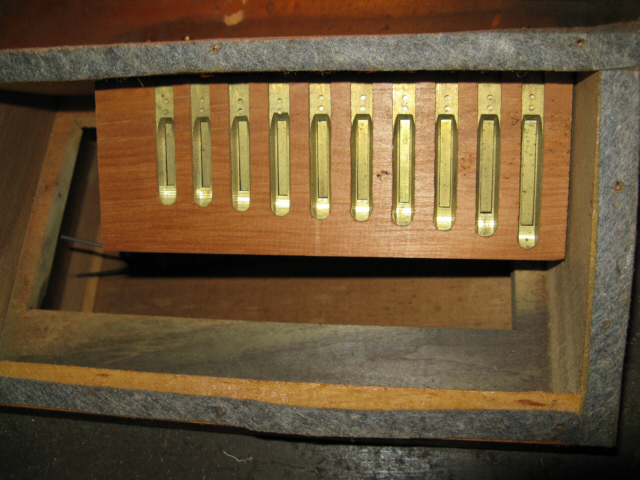
The cover has been removed to expose the reed block inside, it will be removed for gentle cleaning
10 reeds on this side and 10 on the other account for the 20 notes the organ can play
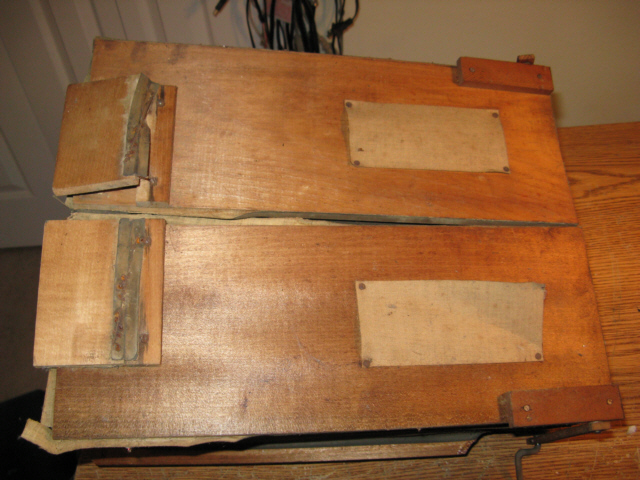
This is what is on the bottom, all of this needs to be redone with new bellows cloth.
The original bellows cloth is .015 thick, I will use the same thickness to replace it.
Below are images showing the progress

Here the mechanism has been cleaned and some parts polished.
Old leather felt pads removed.
It has also been oiled , on the right a few drops hit the casting and will be cleaned.
This is not finished as there will be new pads added soon

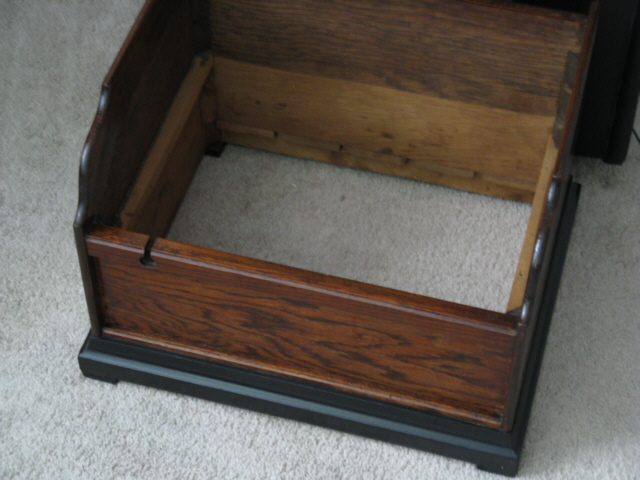
The cabinet has been repaired here, trim painted, and the finish revived.
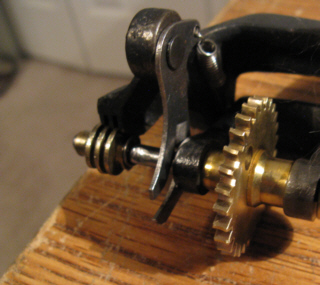
I found out that this may be the only one ..so far that did not have the casting on the crankshaft where it exits the cabinet.
It appears to be a omission by the factory that made it. There are no holes in the wood where there should be for it.
I have started a search for this part as it is needed to stabilize the crank shaft at that end. <FOUND>
The funny thing is that it spent it's operating life without it. A testament to how well the design works, and all for around $7 -$10

Here new pads have been added to the valve arms.
These were purchased from Roller Organ Restoration instead of making my own.
These are a little tricky to apply. They use a thin film double sided tape that is very strong.
Once applied its probably impossible to remove the pads without damaging them.
The originals were glued in place, probably with animal glue.
Find - Organette repair as well as sales, parts, supplies, & music HERE
These are the original Pad parts.
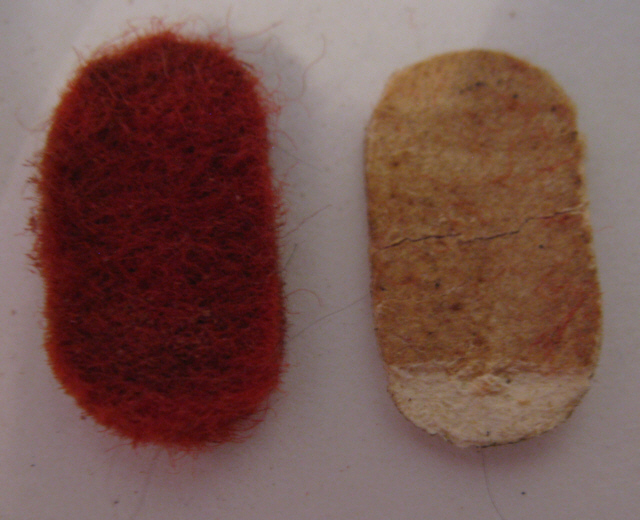
On the left the felt is .1 thick , on the right thin leather with fabric backing .035
Both pieces glued together than glued to the paddle
I included the dimensions here in case someone wants to make them.

I carefully removed the original bellows material from the wood surface edges and the glue. This was done by wetting those edges to soften the glue.
I was able to get it all off with minor damage to those edges of the material and no damage to the wood.
I did have an unexpected occurrence, when everything dried one piece of wood developed a slight cupping.
I soaked this wood piece and placed it under a very heavy weight, checked it a few days later and it flattened out
The 2 black strips of material are the original reservoir material and (One) of two of the bellows materials (both are the same)
Those bellows are attached to journals on the shaft that runs front to back on the top surface of the deck driven when the handle is cranked
The white heavy paper pieces are templates or patterns to help in creating replacement reservoir and bellows pieces.
Approximately 1/4" was added around the perimeter of the original dimensions to give a little extra material to work with.
It was suggested to me to cut the deck on this in 2 to make it easier to recover the bellows, then put it back together with a wood spacer to account for the cut.
Examining how the organ was made shows that the 2 bellows were made separately then glued to the deck.
My plan is to recover them without cutting the deck....time will tell.
Don't know if I would do this the same way again, I might take the suggestion I was given to cut the deck and put it back together later.
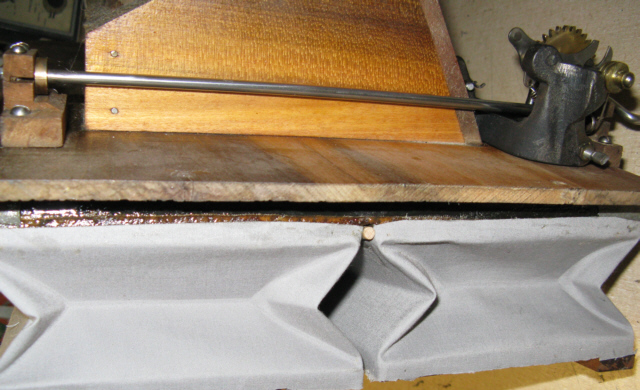
You'll notice in the middle is a 1/4 dowel this was used to keep the material secure to help in the glue drying.
If hot glue was used, I doubt this would have been needed, but a I usd liquid titebond hide glue.
It gives a bit of time to move things if needed and dries very strong.
Obviously each bellows was done separately after the reservoir. A thin metal wedge was used with the dowel
on each side to attach the material in the valley between bellows.

Here it is finished.
Not seen in this photo, the top cover stencil was retained
