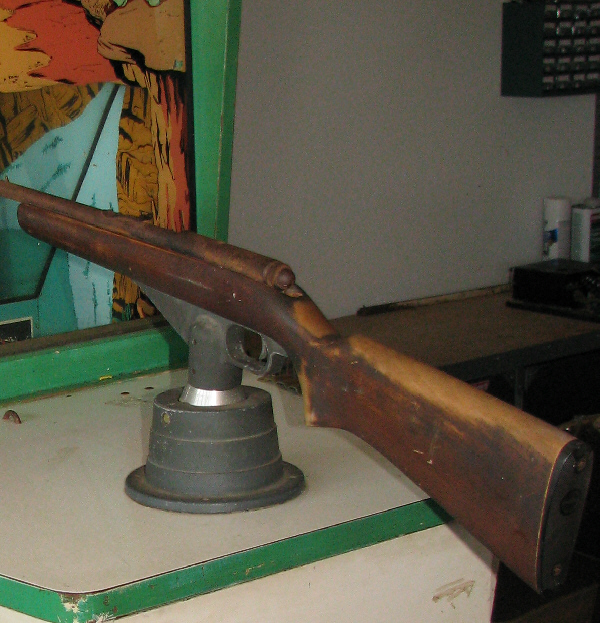
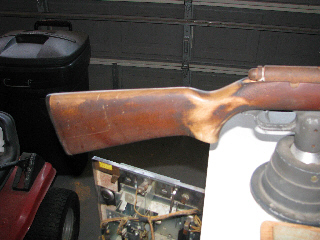
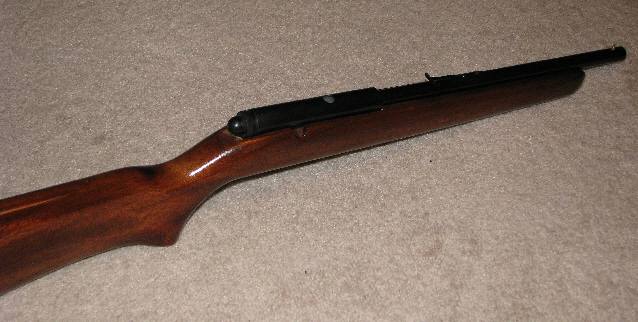
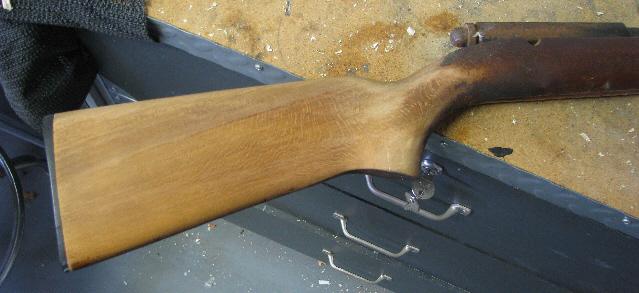
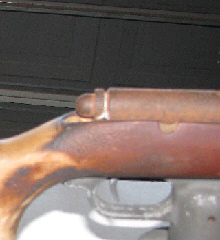
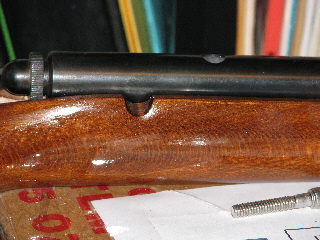
I was surprised to learn Williams used an actual 22 rifle on the game.
Makes sense rather than try and create a replica.
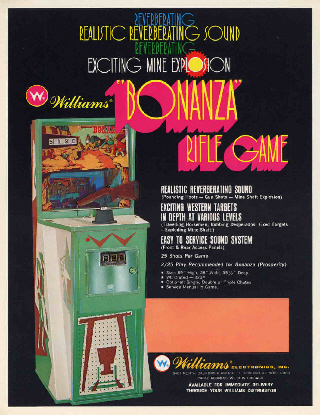
This is a 1961 Ad for the model 514 rifle used
on Bonanza, check out that price!
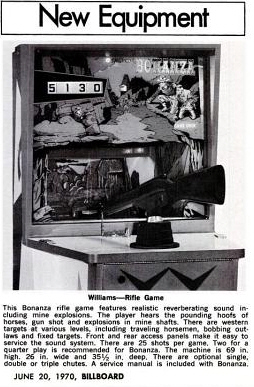
Announcement in Billboard
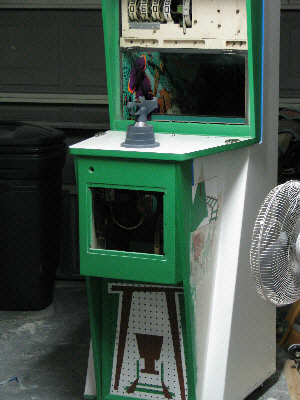
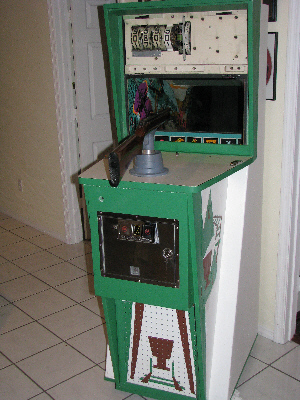
Here is the start of the cabinet restoration.
Since all the art on my cabinet has been painted over I
have no visible art to trace.
Unfortunately I'm not aware of any local collectors that has one of
these that I can trace the
art from.
I thought it would be possible to
carefully remove the top layers of paint to expose the
original art without much difficulty, that proved to be not
true,
I tried a number of suggested methods. None worked well on what appears
to be paint that is many years old. Using a heat gun I was able to get
at enough of the art to begin recreating the front side of the
cabinet art.
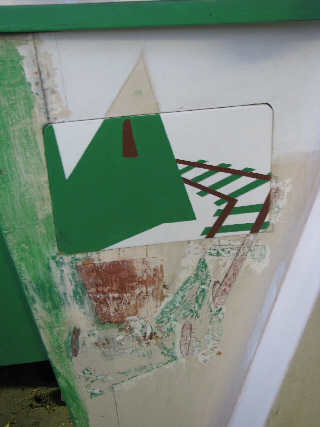
Here is the art re-created on the side door and a pix showing my
archeological "dig" to uncover the art.
I'm currently in contact with a fellow owner (Steve Moritz in Long
Beach Ca.)who has offered stencils he has created to repaint his
Bonanza game, when he is done
with them. This is a welcomed development given how much work
it is to get at the original art work.
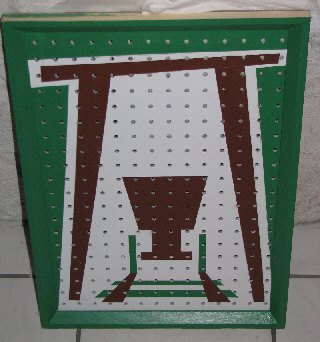
The front pegboard cover which hides the volume controls ( gunshot,
explosion, background sounds), speakers and bell is also missing from
my game.
The choice of pegboard is an obvious one to allow the 2 speakers behind
the grill to be heard.
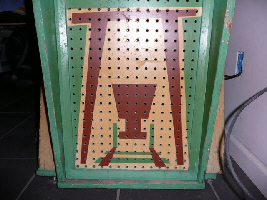
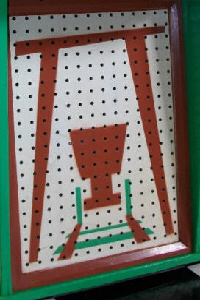
Here is a picture of the grill provided by another Bonanza owner ( Jim
Divoky) and an alternative version.
I've seen 2 versions of
this grill. Possibly an early version and a later
version.
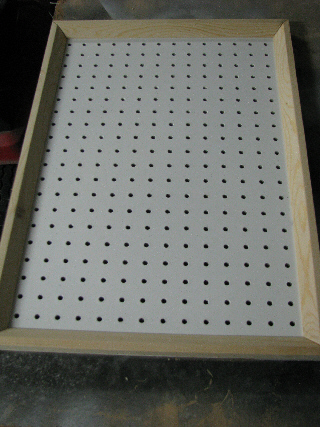
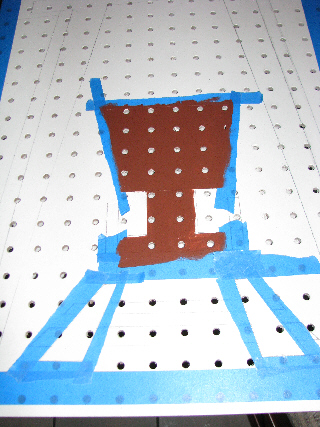
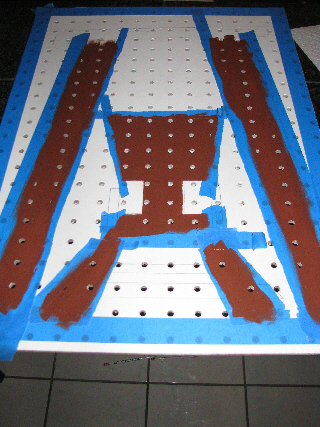
Here are some pictures of the process to create the grill.
Using the pegboard holes as a grid , and the photo of an original, I
produced the replacement grill
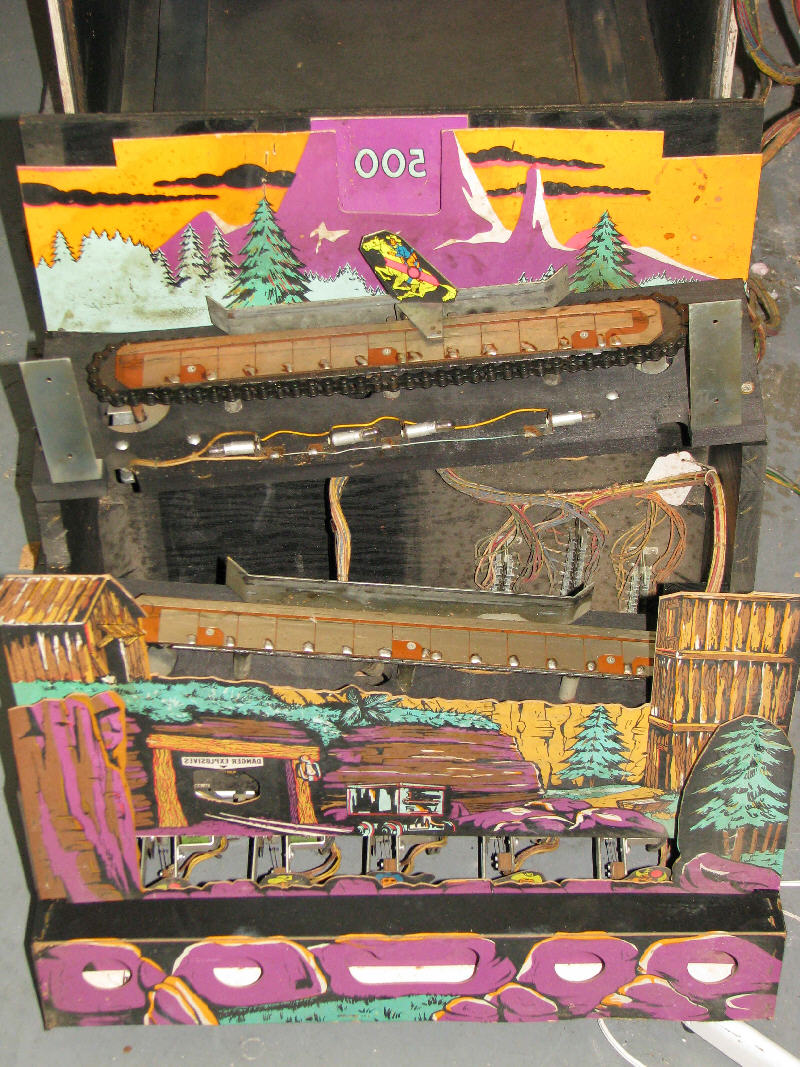
I was able to "cleanup" most of the scenery art using color matched
paints but after starting to work on the "target score scenery", I
wasn't happy with how it was turning out. Though the blue and white
areas turned out ok, the rest proved to be a challenge to restore (see
above for art condition as received). It appears that some of the
damage may have come from excess oil on the chain used to move the
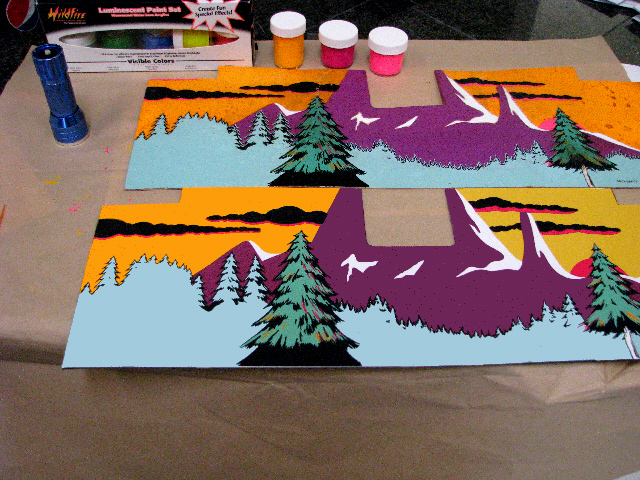
rider target. I decided to try my hand at re-creating the art
rather than continuing the restoration of the original. First the art
was scanned. Next a crude cleanup was done. Then it was broken into
layers. Each layer was then repaired and redrawn as necessary (thanks
to my daughter for her help here). Finally it was printed on a heavy
inkjet paper using a commercial sign printer. The result was better
than I had expected. I then sealed both sides of the paper using
a product called "super surface sealer". I then glued the art to
illustration
board using spray adhesive.
The final step is to add the black light sensitive paint to the areas
that need it.
The end product is actually better than the original. The original had
errors in overlapping the different layers, this does not.
The small blacklight flashlight as you may have guessed illuminates the
fluorescent paint which helps when trying to paint this.
The paint (Wildfire paints) for the sky was mixed to achieve a match
for the original, orange in normal light, yellow under black light.
Another positive of doing this, it got rid of the ugly staples and
holes caused by the method they used to attach this to the game.
I intend to use velcro to attach the new art!.
Before I had the ability to make a 4track tape to use
the Muntz player, I created an alternative sound system,
using some modern circuit choices.
Of note: if you are reading this and have your own Bonanza, you may be
able to restore the original internal game sound effects easily.
(* This applies to the Bonanza version that does not have an external
amplifier added to the sound board.)
If you are fortunate enough to
have the Muntz sound tape deck in your game but no tape ,
you may be in luck if the player amp is good along with a working
reverb unit in the game and delay relays (good 250uf & 1500 uf
caps).
Just pop the cover off the player and manually engage the tape drive as
though a tape was installed, turning it on.
Close up the player. If the amp in the player works , volume controls
up, you should now have the effects working. No background music of
course.
There is some misinformation out there on how this system works, it's
very simple.
Short duration of reverb pickup on = gunshot, long duration of
pickup reverb on = mine explosion.
Those 250uf & 1500uf are what keeps the sound on along with the
rectifier diode, which hold the relays closed after the momentary shot
/ explosion
Volumes for both effected by the master volume on the sound board amp
along with the volume controls behind the grill.
Obviously the gunshot should be lower and the explosion louder.
For those that do not have the Muntz tape deck, (no Aux Amplifer) you
too can re-activate
the original effects
by adding an external amp with magnetic cartridge pre amp.
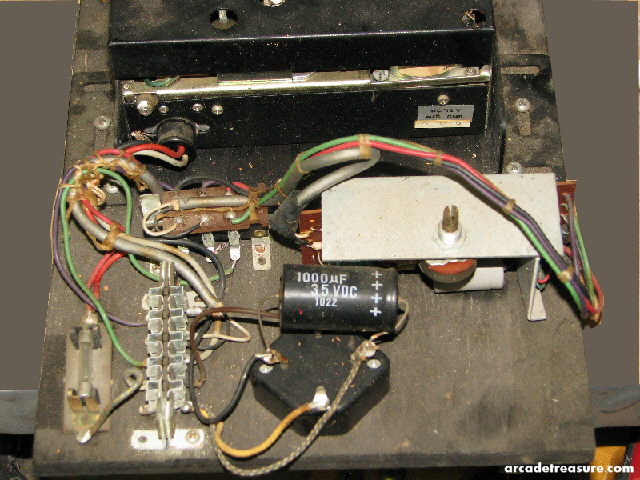
Here is a cheap one that shows
up on ebay and will work.
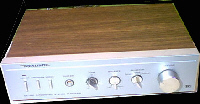
It's a radio shack SA-150 . You could use
the second channel for the back ground sounds with an 8track player and
available 8track tape, or now add the board below for
complete sound restoration.
(Since this was originally written,
there are now small self contained mp3 players with onboard amps, as
well as separate individual boards that can be programmed through USB)
Game Cabinet Sound Wiring Information
The connector on the board is setup like this. Unfortunately there
isn't a color code chart on the wires .
To get the correct orientation if you use a meter you should be
able to locate (
DE) about 14 volts ac or easier, the pickup coil
signal (
BG) is on a shielded cable.
This lettering represents looking down at the connector on the sound
board. So it's equal to looking at the back of the connector...if that
makes sense.
A B C D E
F G H I J
A=Ground (also Music / Background effects Out Gnd)
B=Reverb IN (Comes from reverb unit pickup coil-shielded cable)
C=Music / Background effects OUT (connected to output of Muntz)
out to game
D=AC (input to bridge rectifier for muntz 12volt power, on
sound board)
E=AC (to bridge on sound board)
F=Sound Effect (Gun shot / explosion) output to game ( not be used
on later games would be considered common on Muntz since both sounds
went through it)
G=Reverb IN (Comes from reverb unit pickup coil-shielded cable)
H=Sound Effect (Gun shot / explosion) output to game
I=12volt + power for tape deck
J=12volt+ power from bridge rectifier (on sound board)
The Reverb In (
BG) would go to the Magnetic phono input.on
an amp (one side ..say left)
The sound effect out (
HF) would go to speaker output of
the amp (one side ...say left)
For the Music / Background effects OUT (
AC) , connect to digital
source, tape player etc. (must auto repeat)
If the source for this is the right impedance / level it may be
possible to use the other preamp / amp channel for this.
ORIGINAL BONANZA TAPE SOUND
Don't forget the volume controls behind the front grill
You will be able to control how loud the gunshot is versus the
explosion. The difference in sound between them being how long the
sound stays on
from the vibrating spring on the reverb.
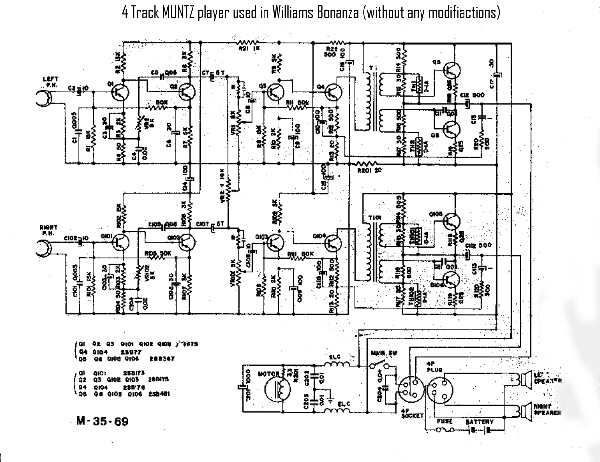
Also, the available schematic shows the reverb pickup coil
sharing one side with the speaker common, on my unit this is
not
true. If your
unit is wired that way,
attention will have to be paid to hooking up the inputs and outputs so
that the grounds match. Do this by checking that none of the pins
(BGHF) are connected together using an ohm meter. If they are,
those are the common ground wires.
Alternative Sound System Idea
Here is one working solution to alter the sound system when the Muntz
player is missing or non-working.

This board has the background music recorded on it. It runs on 12 volts
and can auto start and loop play.
It's only major drawback is it's .5watt
output limitation. I have tested it and it works well. As
I write this I have
not tried running it with game's speaker along with the game running
(motor noise etc)
So the jury is out whether the output is sufficient to overcome the
games operating noise.
This board is normally sold for use by model railroad enthusiasts. I
had the background audio file custom loaded into it.
Effectively this tiny board replaces the 4track player along with
an additional amplifier for the sound effects.
I'm looking into a 12volt stereo amp one channel for the
background and on channel for the effects.
All of the above can be mounted on the sound system board and be
connected there including power.
Adding realistic sound effects to replace the reverb output will take a
bit more work and require additional module(s) and a circuit
change to allow for different sounds to
be used. Unlike the original sounds which are really one sound with
different time lengths.
A single additional module wired to respond to the control of the
reverb relay could substitute for that unit. This could provide more
realistic sounds for both
the explosion and gunshot.
The best solution would be 2 additional modules for the separate sounds.
Update:
As mentioned earlier, I now have the means to create a 4 track tape to
be used with the original Muntz player.
This is my intention. Since a 4 track loop tape of the correct
original length is not available, a tape of any length will be used
with the original sound track stacked
to increase the materials length. It is unlikely I will be able to
locate a blank 4 track tape so a prerecorded music tape will be
overwritten.
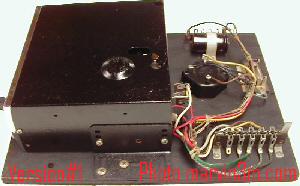
Additionally, I will now restore the Muntz player which was left as
found. (this has begun, photos will follow)
The Muntz 4 track tape deck has been restored.
There were only 2 issues. First the belt had disintegrated, next
without the belt the flywheel did not spin freely.
The flywheel was removed, the bearing cleaned, the rubber ring above it
removed, and the flywheel capstan shaft cleaned using 0000 steel wool.
A new belt was installed, head and pinch roller cleaned and the
deck was good to go.
Here are the dimensions of M-35-69 Muntz deck belt: 11.75" in
length, x 7/32" in width x .040 thickness
I used a precorded 4 track music tape, and recorded the Bonanza sound
track over it. I stacked the music track to about 25 minutes to assure
I
put enough material on the tape to over write the entire original
content.
It worked great.
Fellow Bonanza owners, email me if you need a tape.
I now have a fully working original sound system in the game.
There were a few other issues that had to be corrected after the deck
restoration.
On my game there is a seperate amplifier for the reverb sound
effects that had a bad preamp transistor.
Also the contacts for the gun shot and mine explosion had to be cleaned
as the reverb sound never got to the amplifier.
Previously I had corrected an issue with the reverb unit itself.
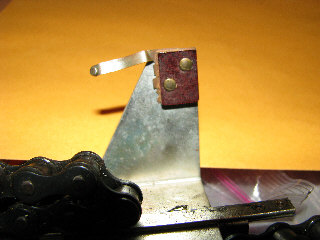
There is an arm on it, called the spring striker.
The end of that striker had broken off .
I had to make a repair to that arm as it is no longer available.
It's possible that the arm on the reverb unit was fabricated as a
replacement
See photo below.

I riveted a piece of brass to the striker end to replace the missing
piece.
TECH TIP: It is critical that the connectors on the sound board feeding
the signal from the reverb pickup are clean.
On this game besides the dirty sockets and pins on those connectors, on
the larger sound board socket the soldered tabs on the bottom were
touching the
painted board creating a resistance path between pins.
The output of the reverb unit, either is processed by the early
bonanza's Muntz player's unused music channel or later fed to the input
of the
seperate sound board mounted preamp/amp. The both in and out signals
are connected through the plugs and sockets on the sound board
and then through
the delay relays (rifle & explosion) before going on to the speaker
located next to the background music speaker.in the game front.
This wiring diagram found on the Williams Wiring fr the game, only
applies to the Bonanza Game that does NOT have the seperate reverb
amplifier
What appears to be the more common version using a seperate amplifier
is NOT wired this way.
The Speakers do NOT share a common ground.

This drawing shows how the Non amp version of Bonanza Reverb was set up.
The "pickup coil" is the reverb pickup and as seen here is
connected to the tape deck. (unused music channel)
Of note is that the pickup is NOT grounded. The cable shield is
grounded to reduce or eliminate hum.
This is not the case when the Bonanza game that has the auxiliary amp
board.
It's all basically the same with the exception that the deck's
unused music
channel was NOT used at all. Instead the amp board serves that purpose.
Below is how the amp version is setup.

I've included signal path information to make this a bit easier to
follow.
A fellow owner came to me with a problem of no gunshot / no explosion
sounds.
I have included everything here that should help solve the issue.
This setup is a bit confusing especially if the Bonanza game owner does
not have the customized Muntz deck or is missing the sound board.
As can be seen here , in this version of the sound board the tape deck
and speaker share nothing with the reverb amp and speaker.
This information is NOT included in the drawing supplied by Williams
for this game.


Note: the writing in pencil on the control backs, so they knew
which spot to put them in.
The big differance in this version's wiring is that in this version the
speakers do NOT share the chassis ground.
The amp output is isolated from the deck ground.

This is a short video, not the best quality but it does show the
operation of the sounds and lighting effects of my game.
Coin Door
Information
First though not documented, the lamp(s) used in the coin door is a
type 51 (7.5v .22amp)
The coin door is attached to the wiring harness of the game through a 8
pin plug.
The plug can only be inserted in one direction.
D C B A
E F G H
(
SEEN FROM PLUG BACK)
A- Lockout
Coil
B- Not Used
C- #3 Coil
D- Lockout Coil
E- Lamp
F- #3 Coin Sw.
G- #2 Coin Sw.
H- Return (lamp & Switches
Note: This wiring chart may change
with different door configurations.
These doors can have 1 to 3 coin mechs.
This reflects the wiring on a single mech door.
Game
Lighting
Backglass lighting- (21) type #44/47 lamps
Fired Shots- (14) type #44/47 lamps (covered by number plastic
with game over)
Explosion Lamp- 60w 120v Orange
Target assy- (8) #455 Red Blinking Lamps , (1) #44/47 lamp in mine
Bottom target rail - (14) #44/47 (remove staples in scenery-4 screws to
open)
Coin Door Lamp- #51
Black Light- F15T8
Backdoor
Control Relays


Available Documentation
There are 3 available for purchase, a total of 5 that
I know of.
1. The Instruction
Manual
2. The Wiring Diagram/Schematic
3. The Catalog Supplement "X" with new
parts and units for Bonanza
4. The William's 1971-72 Parts Catalog
(covers all William's games from space pilot 11/68 to Cimarron
12/70 including prices!)
(according to the above catalog the replacement
screened glass for bonanza in 1971 was $24.00)
5. The Game Flyer
The first 3 are available from pbresource.com


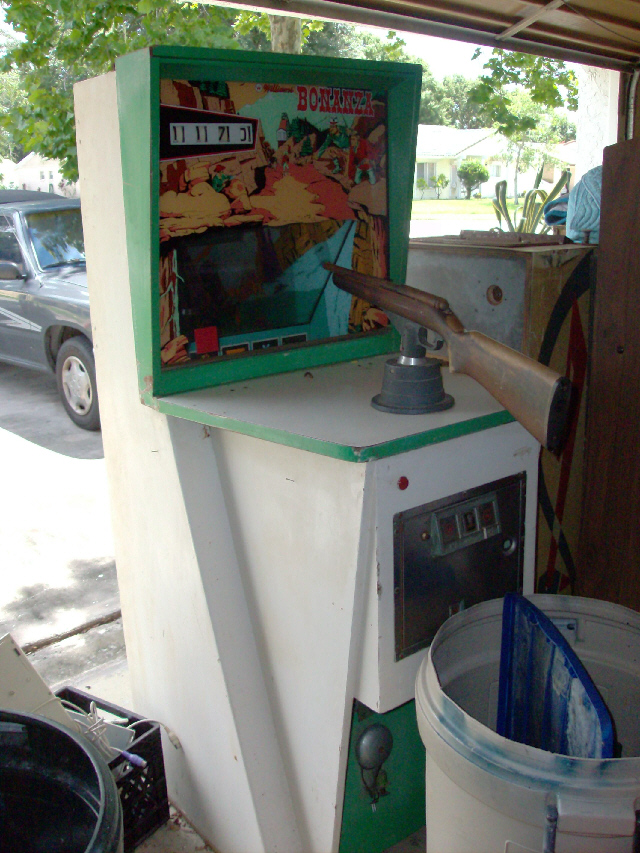






 It's a radio shack SA-150 . You could use
the second channel for the back ground sounds with an 8track player and
available 8track tape, or now add the board below for
complete sound restoration.


