This page details the restoration
of my Karl Griesbaum Singing Bird Cage
A Very Brief History of Singing
Bird Cages
For a couple
of centuries now a few
individuals, their families, and companies have produced mechanical
singing
bird automatons(Sometimes called
Singing Bird Tabatieres). In
the past
these devices were playthings for the rich. Today these are
collectibles and
heirlooms.
In more
recent
times these
mechanical singing birds were the inspiration for the creation of
modern animatronics.
Singing
birds were put into boxes, clocks and in realistic looking displays,
including
cages!
This
page focuses on the German built, Karl Griesbaum
Singing Bird Cage. Production of these stopped in the 1980s but
the designs,tooling and parts were purchased sometime later and
reopened as MMM in
Germany.
I have been
able to determine they are are still making these as of 2016!.
Though I don't have a place for you to buy them in the USA at this
point...
New Info:
The Wendel Family of Rudeheim am Rhein purchased the
Griesbaum factory in the late 1980's. Originally they
intended to place all of the
factory machinery in their museum of mechanical musical instruments.
Instead they decided to use the machinery to continue producing those
things that the Griesbaum factory had in the past, and they continue to
today.
Their museum is located in a 15th century Knights Manor, how cool is
that.

The Museum webpage can be found here www.smmk.de
(tell them steve sent you, if you visit)
Here is the cage I purchased, when it arrived.

Note the dent in the case on the right, the warped bent cage and white
berries.
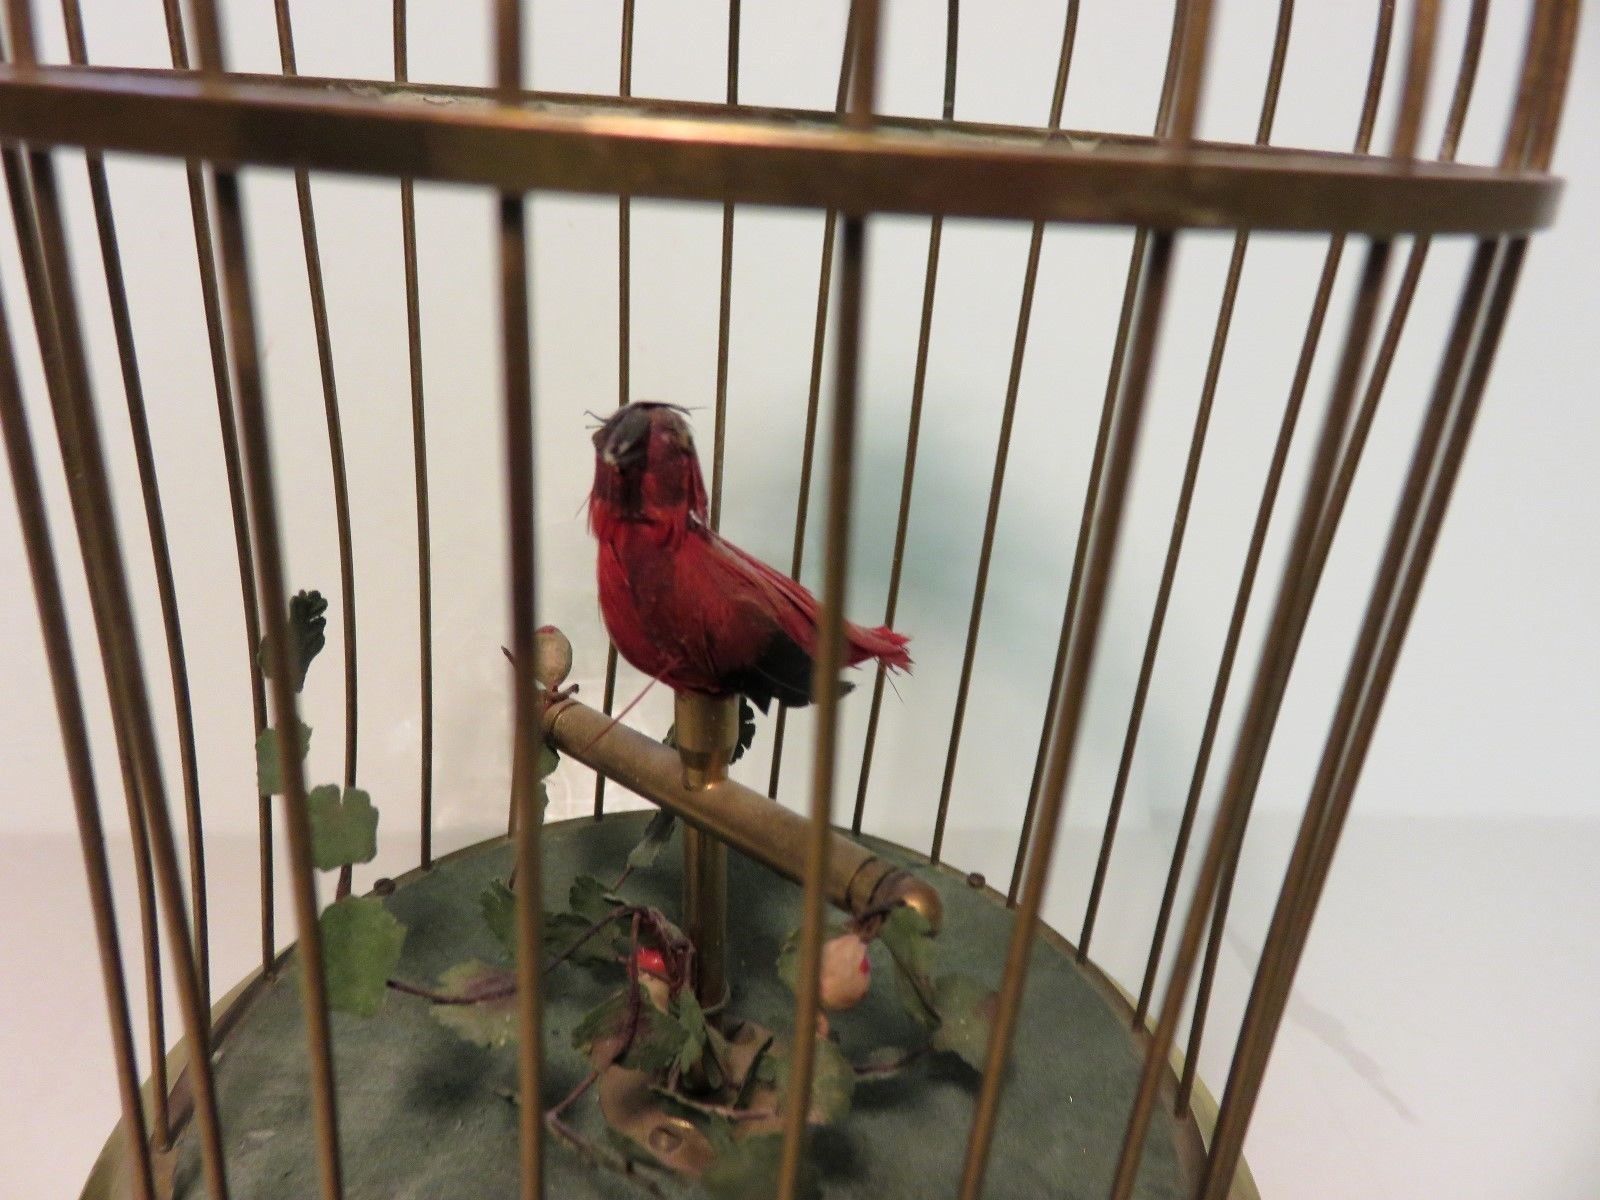
This photo shows the condition inside the cage a little better. Though
not obvious in theses photos the bird is filthy.
The seller indicated it had sound, but basically there is no sound.
The mechanism seems to function well with the exception of the bird not
singing.....more later.
So, the restoration of this is 2 part.
Repair the physical damages to the cage itself, the bird and it's
props and restore the singing voice to the bird....silenced for how
long?
The following photos show the condition of the inside.

It's clear in this photo that the bellows has been repaired in the past.
The round cylinder on the right is the slide whistle, and what is
ultimately responsible for the birds song.
This assumes that there is enough air supplied to it as well as the
mechanism operating the slide correctly.
The arms located in the center with the small and larger hole operate
the mouth, the head, and the tail of the bird movement.
Since the bellows chamber at the bottom is the reserve and did not move
at all I initially suspected the bellows chamber at the other side as
leaking.
It took a little while for me to realize that one side pumps then the
other of the first 2 chambers.
I looked for replacement material to use as a test.
My research and inquires suggested using animal intestine skin known as
zephyr skin. It was clear this unit did not use such skin.
A video of one of this cages being constructed also did not appear to
show "skin" used.
Since getting a hold of that skin is not all that easy I started to
look for a substitute, at least to test it.
I found someone that suggested the material known as tyvek was a
possible choice.
I eventually found a youtube video where someone used it on a cuckoo
clock whistle with good results.
Tyvek "paper"material is more like cloth material than it is paper as
is paper money.
It's extremely strong, the fibers so tight it does not allow air
through.
It's flexible and can be creased and folded and will accept glues.
Since I had nothing to loose, I decided to give it a shot. Trying a
single section first.
I created a drawing to use as a guide to reproduce the original,
then taped it to the tyvek and cut it out.
Since this was just a test, the worse that could happen was to remove
it, if it didn't work......but it did.
However, now there was some air for the whistle, and some sound, but
not enough. So I
did the next section, and it got better.
It still wasn't right, so I put a little soap in water and using an
artist brush painted it on to the large reserve bellows section....and
guess
what, when pumped
there was small bubbles forming on the material....so it wasn't
airtight after all and it had to go as well..
After removing the reserve bellows material and making a template (this
one is different than the other 2 sections-larger) I was
ready to recover that as well, so...bottom line I should have taken it
all off to start, and replaced all of it.
I also tested the one way valves that are
inserted into sections of the bellows, which as it would imply allow
air to move in one direction only.
I used a piece of tubing sized to fit over the valve. In this way I
could tell if it closed and opened.
I was told that earlier versions of bellows used "paper" valves for
this purpose. A simple flap of paper held at one end that would allow
air in one direction.
A date scratched into the bottom plate interior dates my cage to 1969.
Once all three sections material was replaced the volume of the
whistle increased as well as movement of the reserve section.
It now sounded like what I had imagined it should sound like.

The bird animation control rods go into the 2 holes in the bright metal
arm near the center.

An arm from
the mechanism moves the block of wood in the center
left and right , each section of the bellows pumping air.
As can be seen in
the photos, the bellows has 3 compartments, not seen are very small
round brass & plastic? valves between them. The divider between the
first 2 sections moves and is driven by the mechanism (see arm attached
in photo).first one then the other pumps and fills the final chamber
which has a small slide whistle and release valve attached to it. The
mechanism moves the plunger (piston) of the slide whistle in and out
and opens and closes the air valve to produce the whistled melody. At
the same time the mechanism will rotate the head of the bird, move the
beak, and tail feathers by raising and lowering the arms that cross
near the top of the upper plate.
The photo below shows the first pumping section replaced, along with
the drawing used to cut out the new material.
Also shown is one of the original stiffeners, and a replacement.
At the bottom is the actual material found on the bellows.
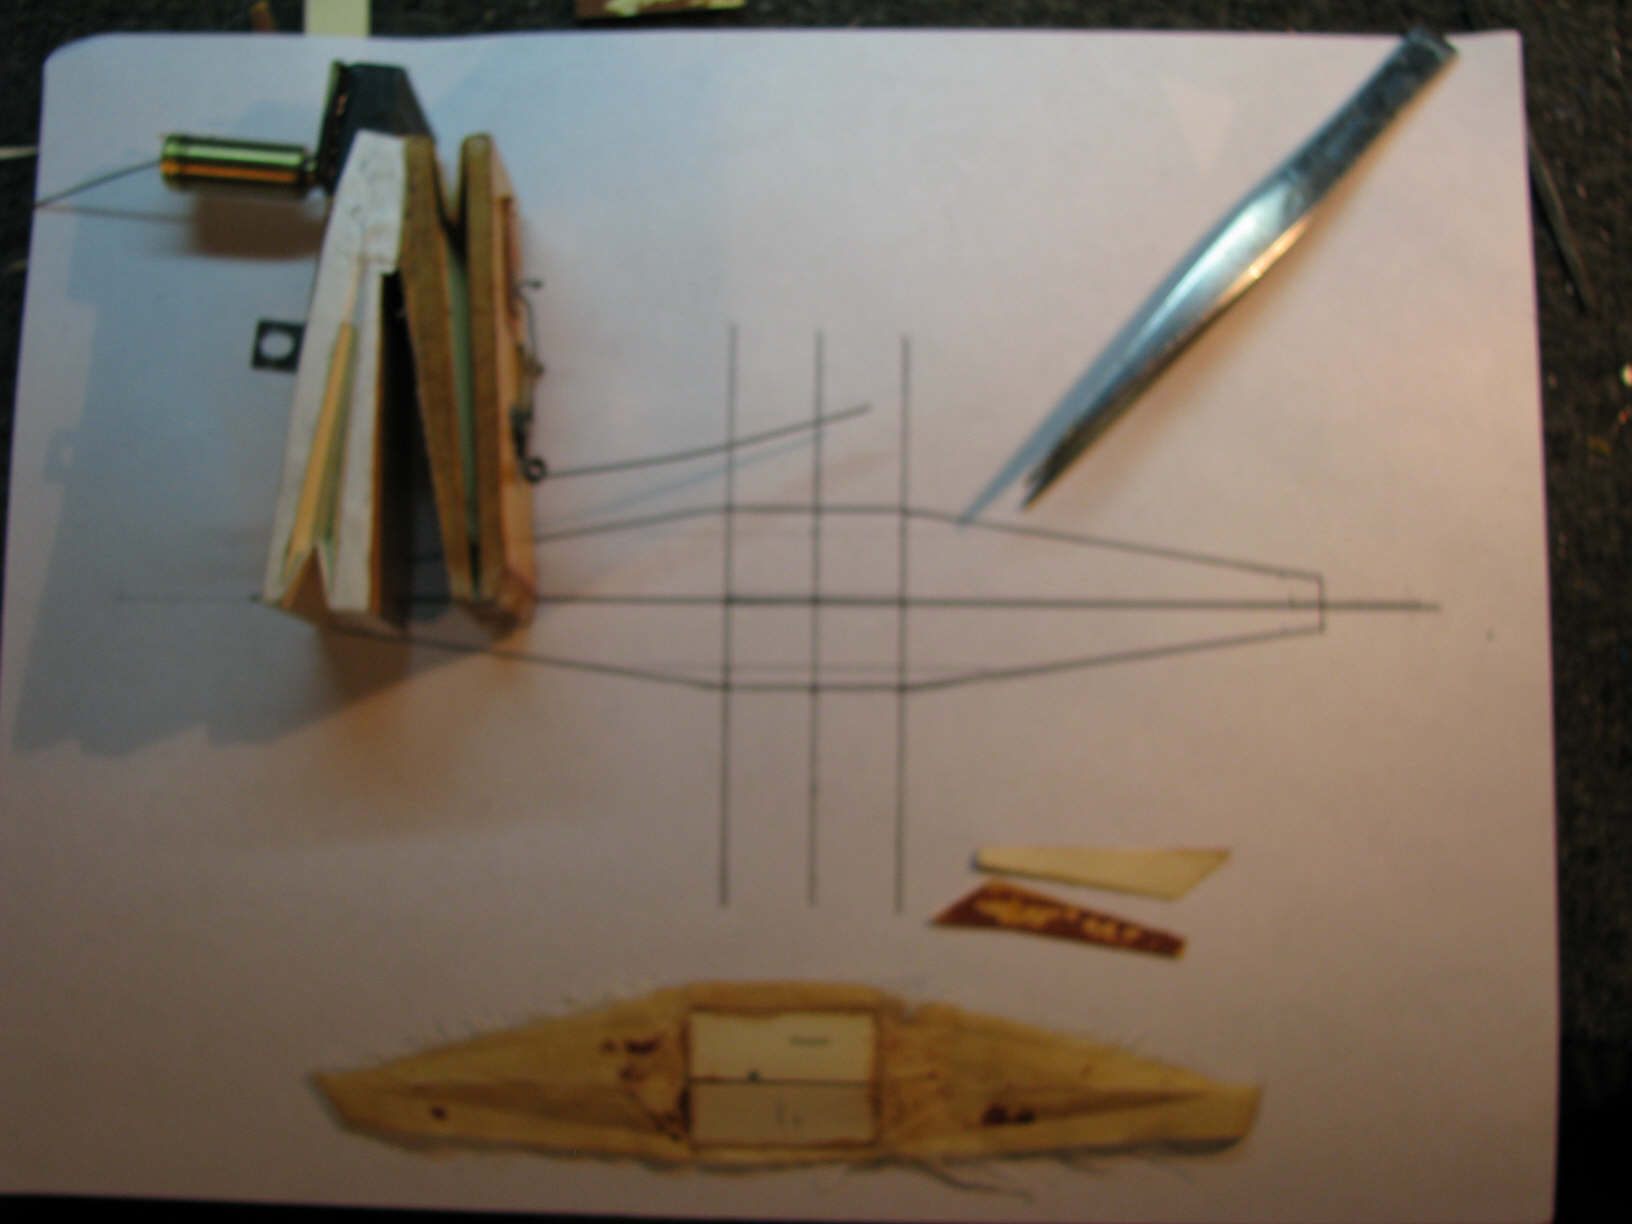
The folds were put in when the material was installed, then the
stiffeners were added. I used paper from a file folder for the
stiffeners,,
which frankly looked to be exactly the type of paper originally used.
I used the flat back end of a tweezers to help make the folds sharp.
Once I was happy with the folds the stiffeners were glued in place.
This is most likely not the way these coverings were made in the past,
and probably not the way current restorations are done.
I tried this method since I knew I had the time to position the folds
and then add the stiffeners and finally glue them in place.
In production these things would have been put together as a "assembly"
before they were glued to the wood.
Since the material size was accurate, gluing it to the edges of the
wood was all that needed to be done, the folds added and finally
the stiffeners in those folds.
Note: The reserve section had stiffeners added to both sides of the
material as found , I only put them on the outside as I had done with
the other sections.
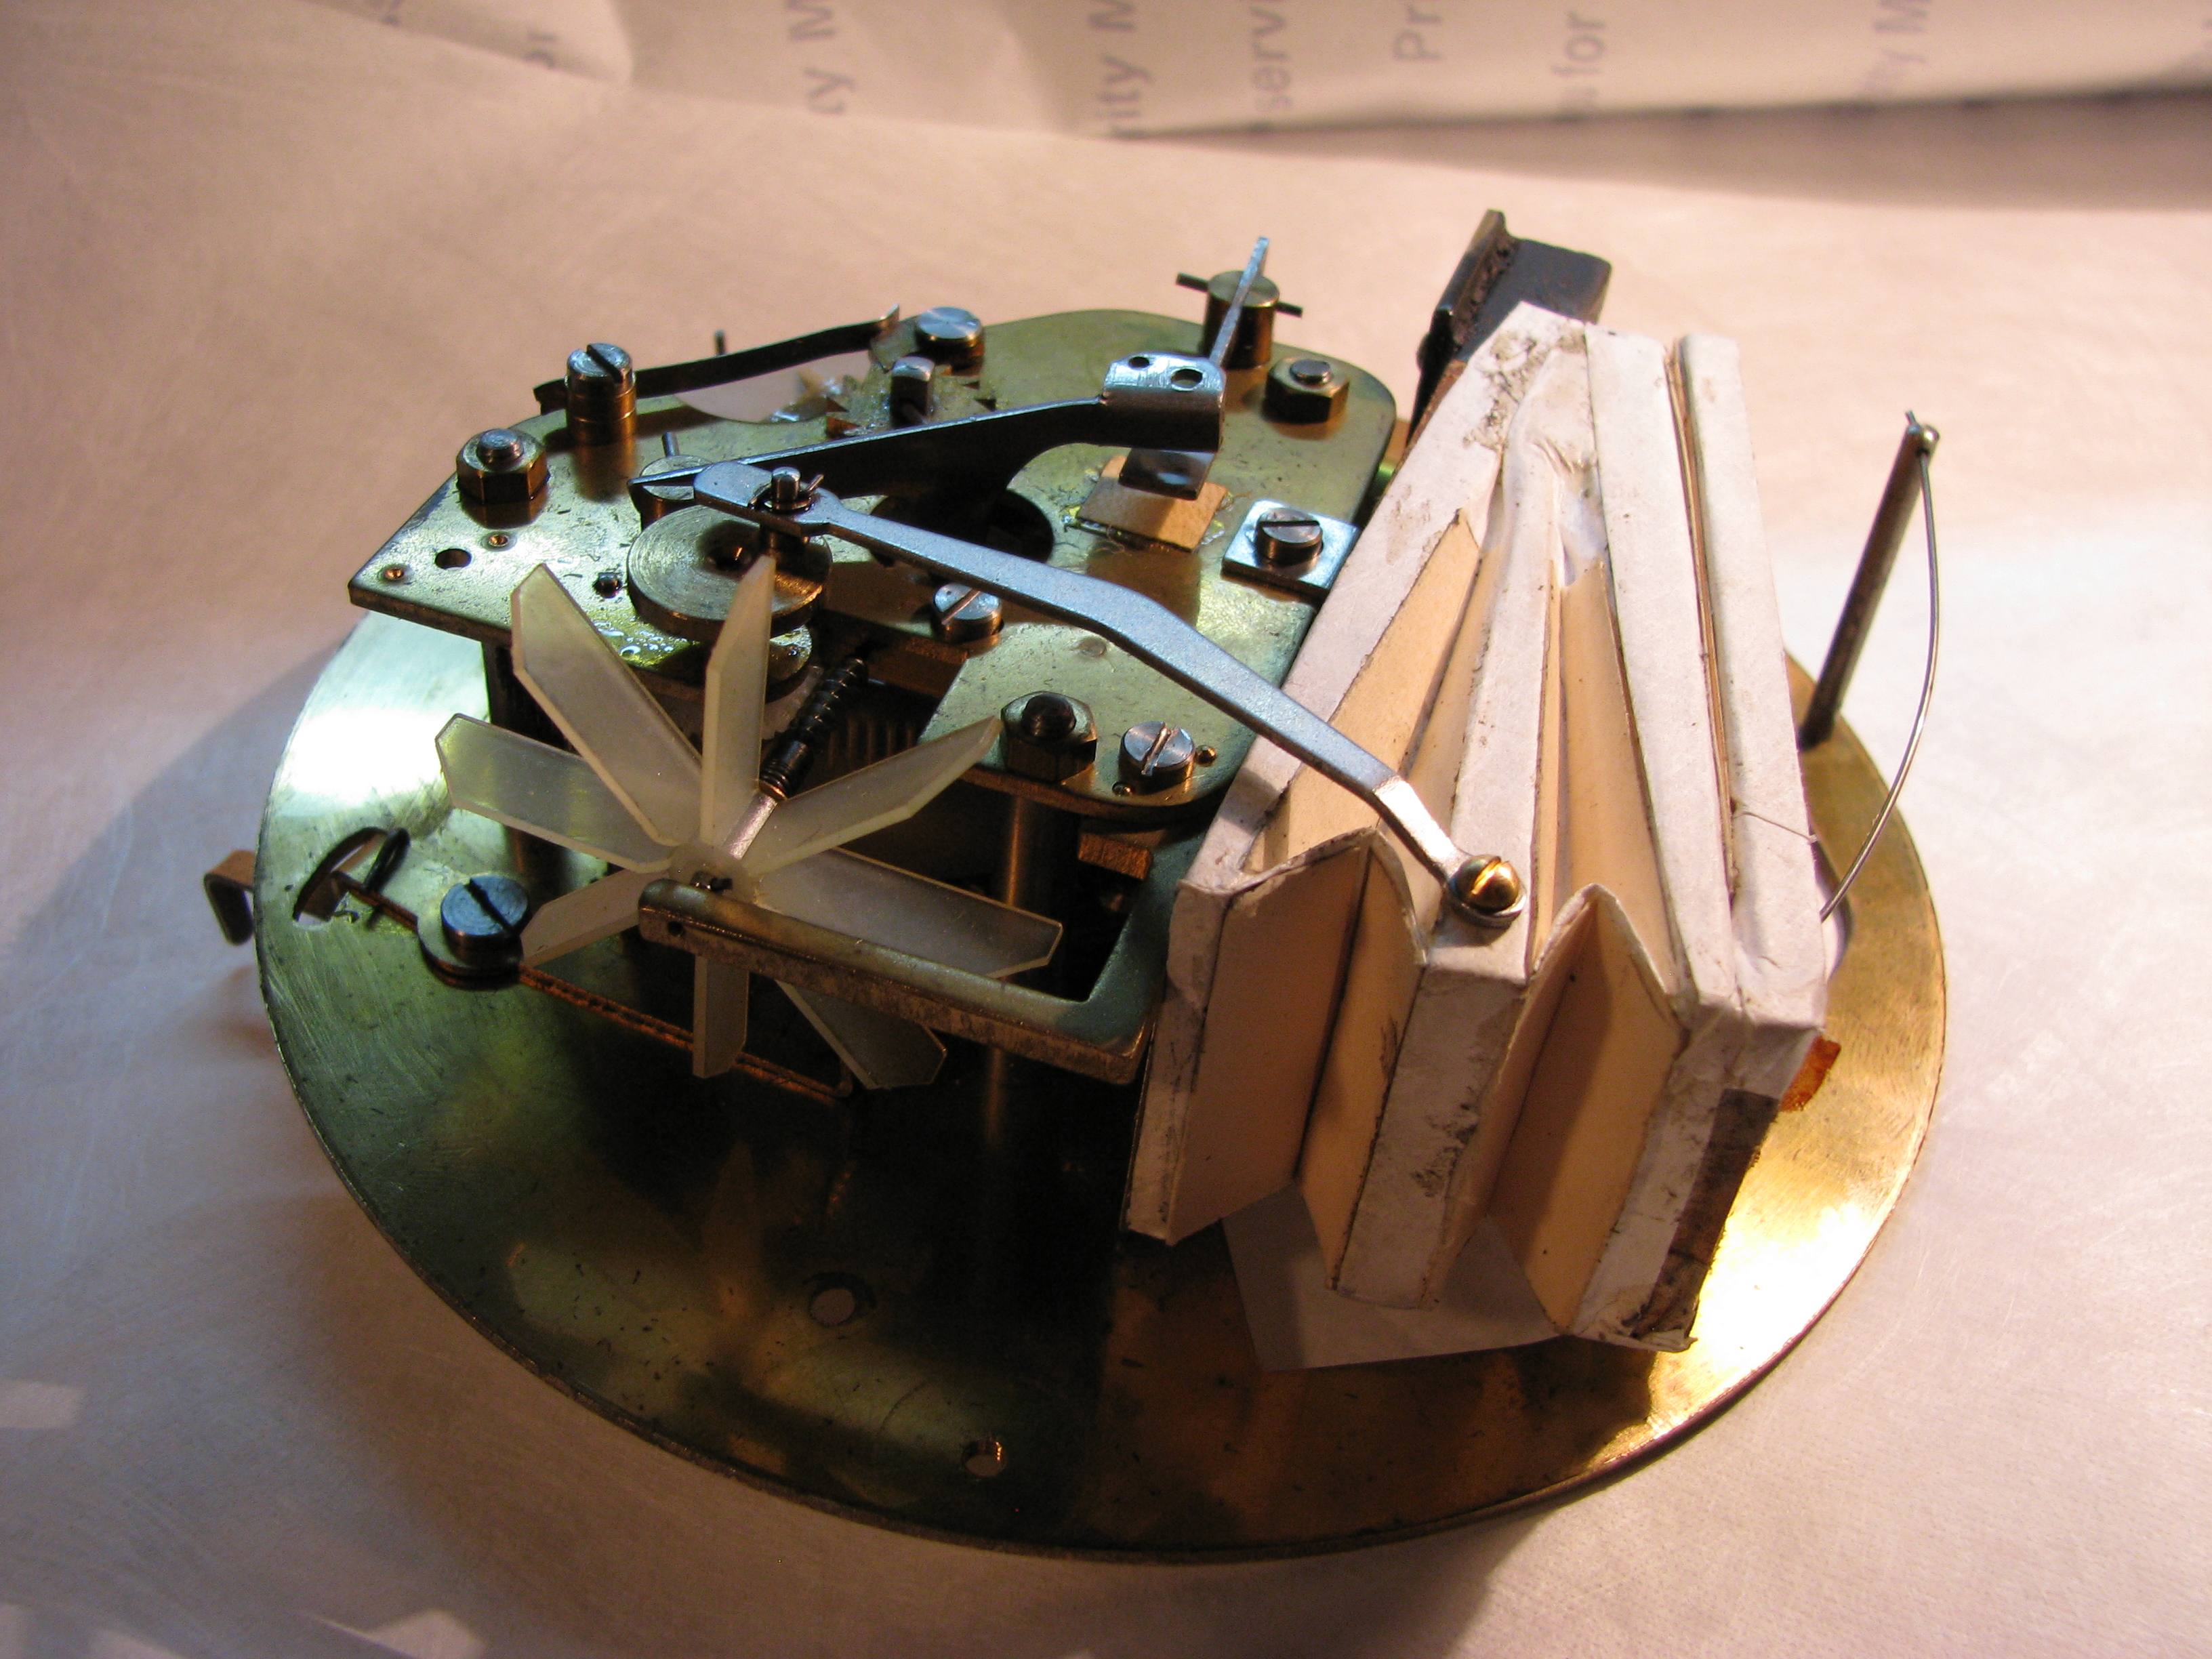
In this photo all 3 sections have now been replaced.
Next was to deal with the cage , the lower base trim and the interior
space for the bird as well.
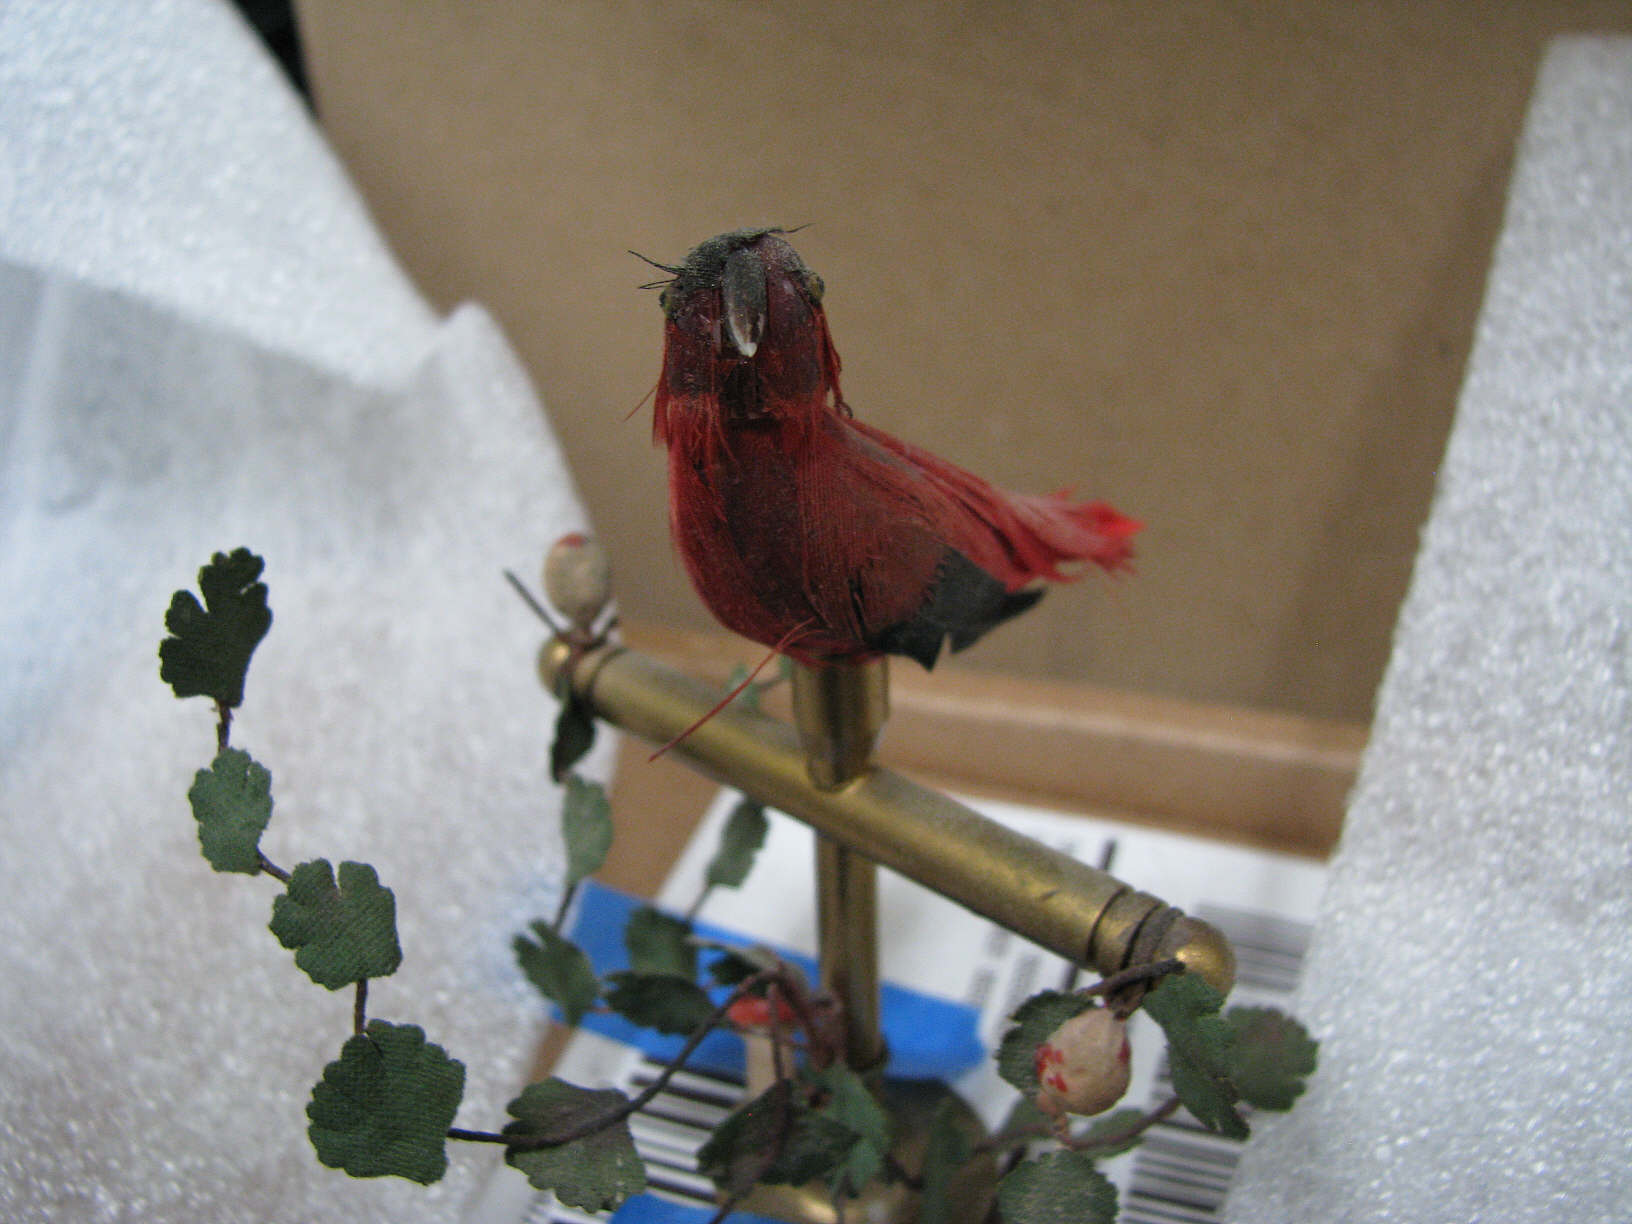
The bird was carefully cleaned using an artist brush and water only.
The 2 berries had almost no red paint left on them and it turns
out are made of a material that is water soluble, the one on the right
basically dissolved when cleaned. It appeared that this bird had three
berries, so while created a replacement for the one on the right I
created another for the left side as well (using epoxy). The original
on the left
was savable. Instead of lacquer I used acrylic but covered it
with triple thick clear coat to protect it and give it a gloss finish.
The mushroom red also fell off and was replaced with new white dots
added.
Using an artist brush with a soap solution , each leaf was scrubbed.
Some of the wire connecting the leaves was rusting, in which case
it was painted a brown shade.
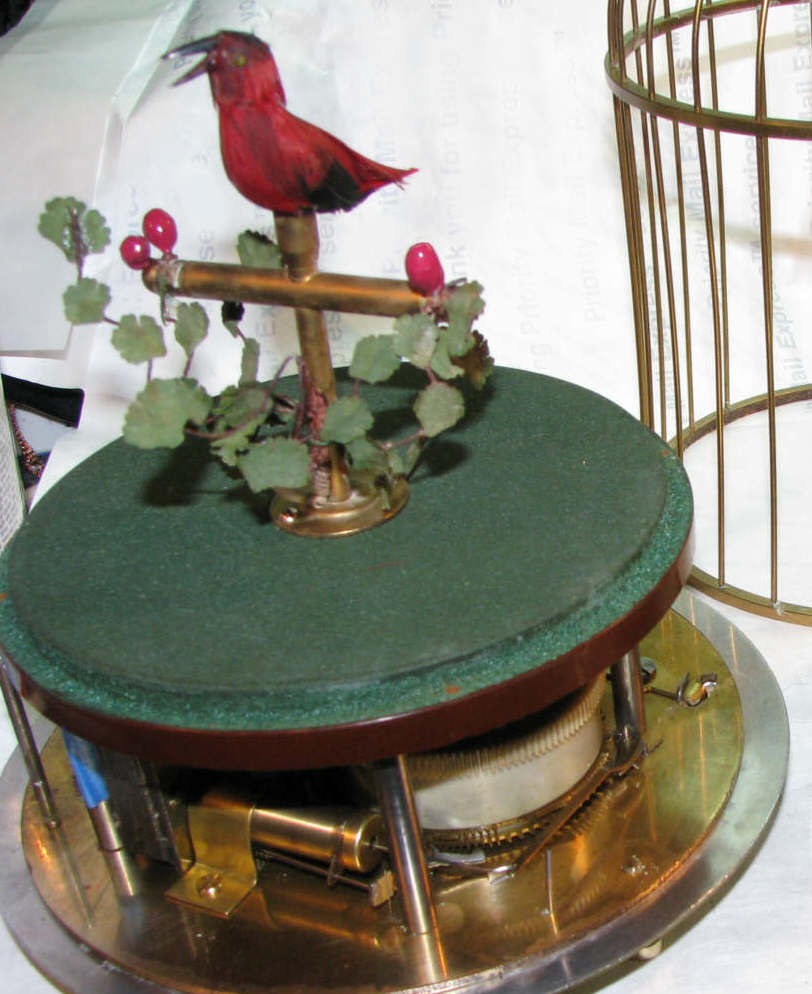
Here it's in process, still more cleaning to go.
The feathers on the bird are not perfect but after cleaning it looks a
lot better.
There was one additional repair needed to the bird. The upright post is
normally soldered to the base plate. It had broken free allowing the
bird
mount to turn instead of being fixed in position, which it needs to be
or the alignment of the rods coming from the bird into the mechanism
will bind, which will cause mouth to stay open or closed, stop tail
movement or head turning.
Once I was sure of the position it needed to be in, I re-soldered the
two pieces together.
The bird was then put on the side waiting for final assembly.
Next came working on the base trim, which shows signs it had an impact.
I built a jig for this purpose, simply tracing the curve of a
good area of the base and used a jigsaw to cut it out.
This mimics the shape of the trim. It was placed inside the trim, and
clamps were used to pull the metal back into shape
The cage was also twisted a bit and that was corrected as well.
A final cleaning and it was ready to put it back together.
Final test.
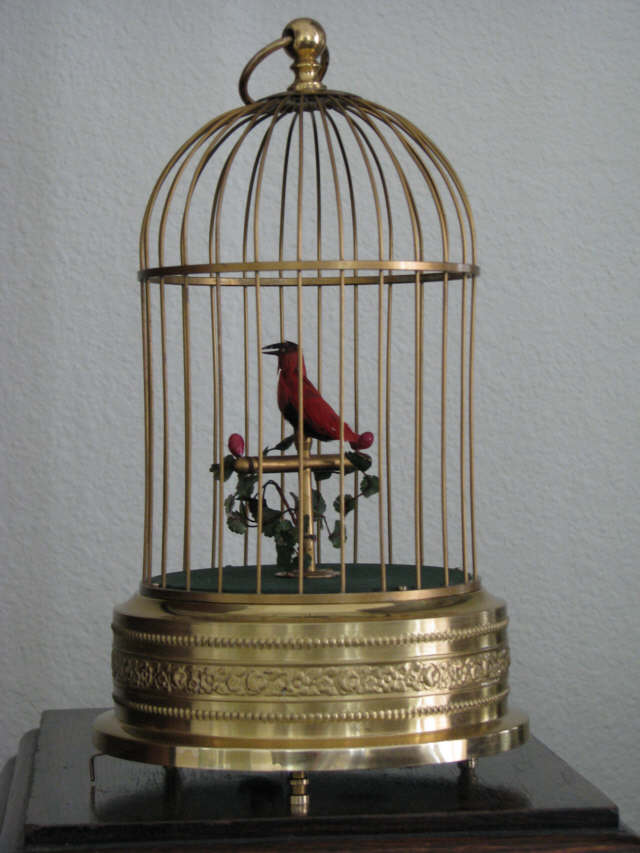
I noticed after I took this photo that the cage bars aren't 100%,
I will go
back and fix that shortly.
You'll notice that the cage doesn't look like the polished brass on the
bass, that is because I've been told
it's plated in gold.
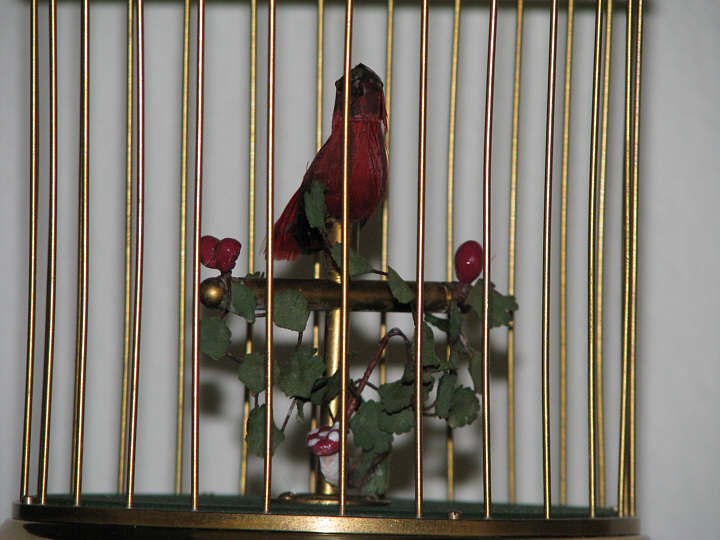
Click here or the above photo for video : Birdcagevideo
With what I learned from the single bird cage I decided to tackle
a 2
bird cage.
Here it is as purchased.

Overall it is in nice physical condition, the cage a little
bent. The base is a very nice
design, again with a few issues.
The big issue, it doesn't do anything, It does not operate
at all.
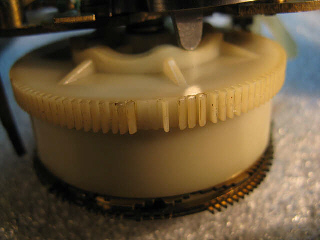
Turned out besides the bellows repair, the main gear, a form of plastic
in this, had missing teeth,
This condition most likely caused because it was over wound. The
yellow bird is in poor
shape as well.
To repair this cage requires contacting the factory in Germany for
parts.
Ok.... lets get started.
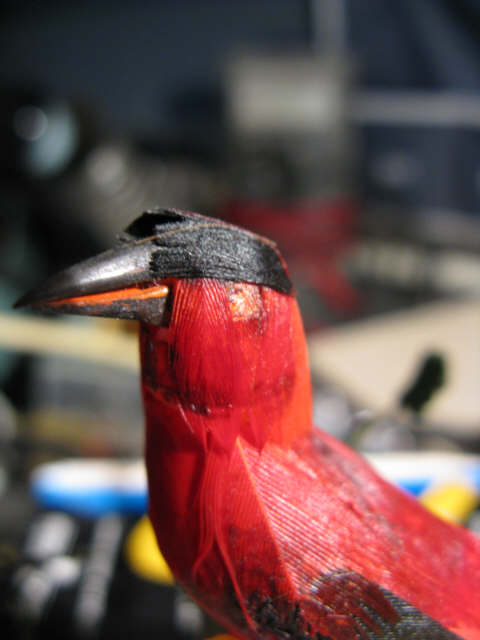
On the left the damaged gear, then the
right the very sad looking yellow bird followed by the red bird ,
missing an eye
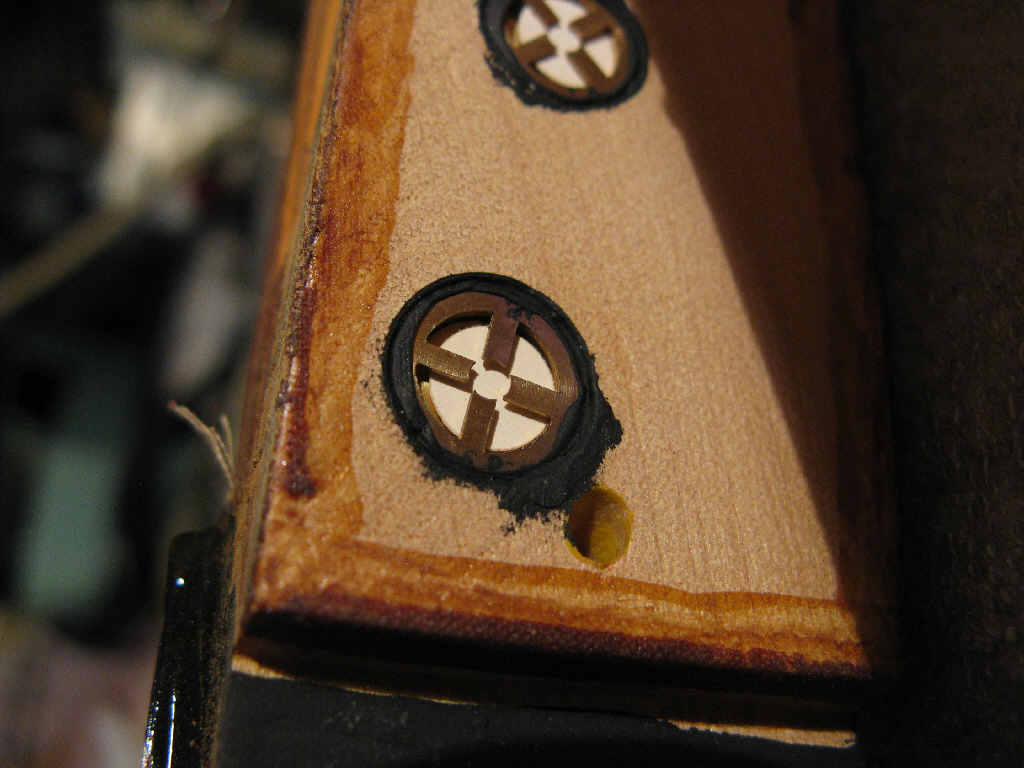
This shows the later valves used in
the bellows.
That is a brand new yellow bird on the
right straight from the factory
in Germany.
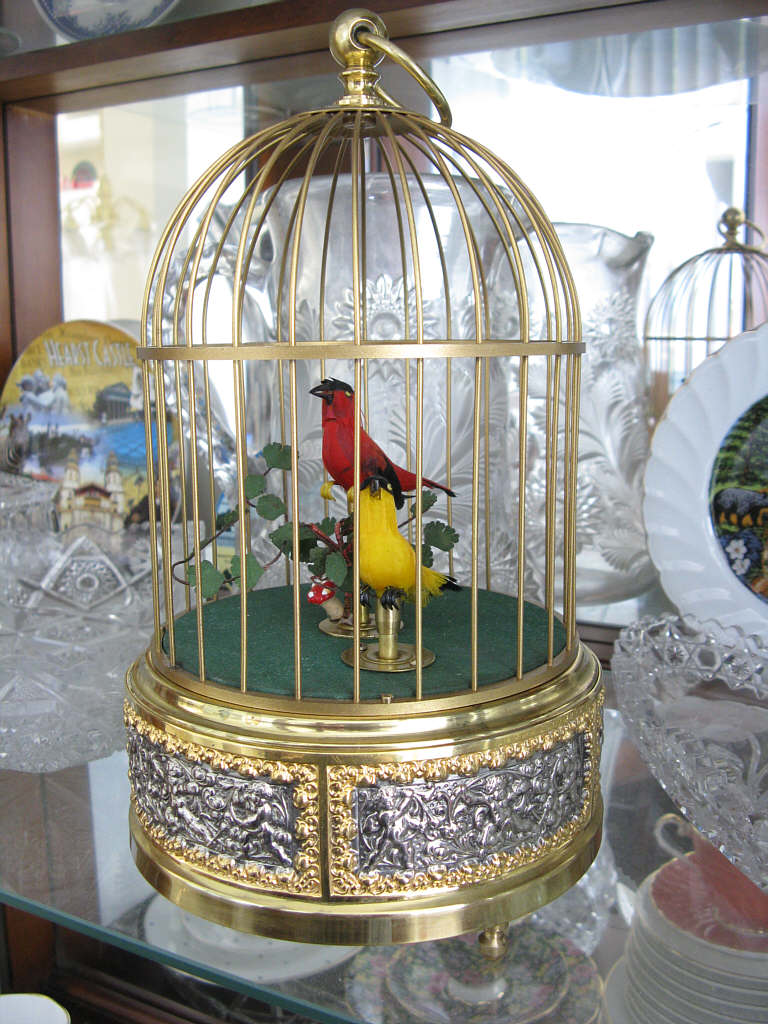
The platform restored, new gear
installed, new yellow bird synced to
mechanism (movement), new eyes, base polished and repaired, and of
course
bellows serviced and whistler
adjusted. I think all the work and
expense was worth it, as you can see for yourself.
Finished !
For those out there reading this, it
has be brought to my attention that there are "fakes" of these being
sold
So, at this stage I'm not sure how you can differentiate between
real and fake at this point, but buyer beware.
Some sellers may not be aware they are selling a chinese copy.


